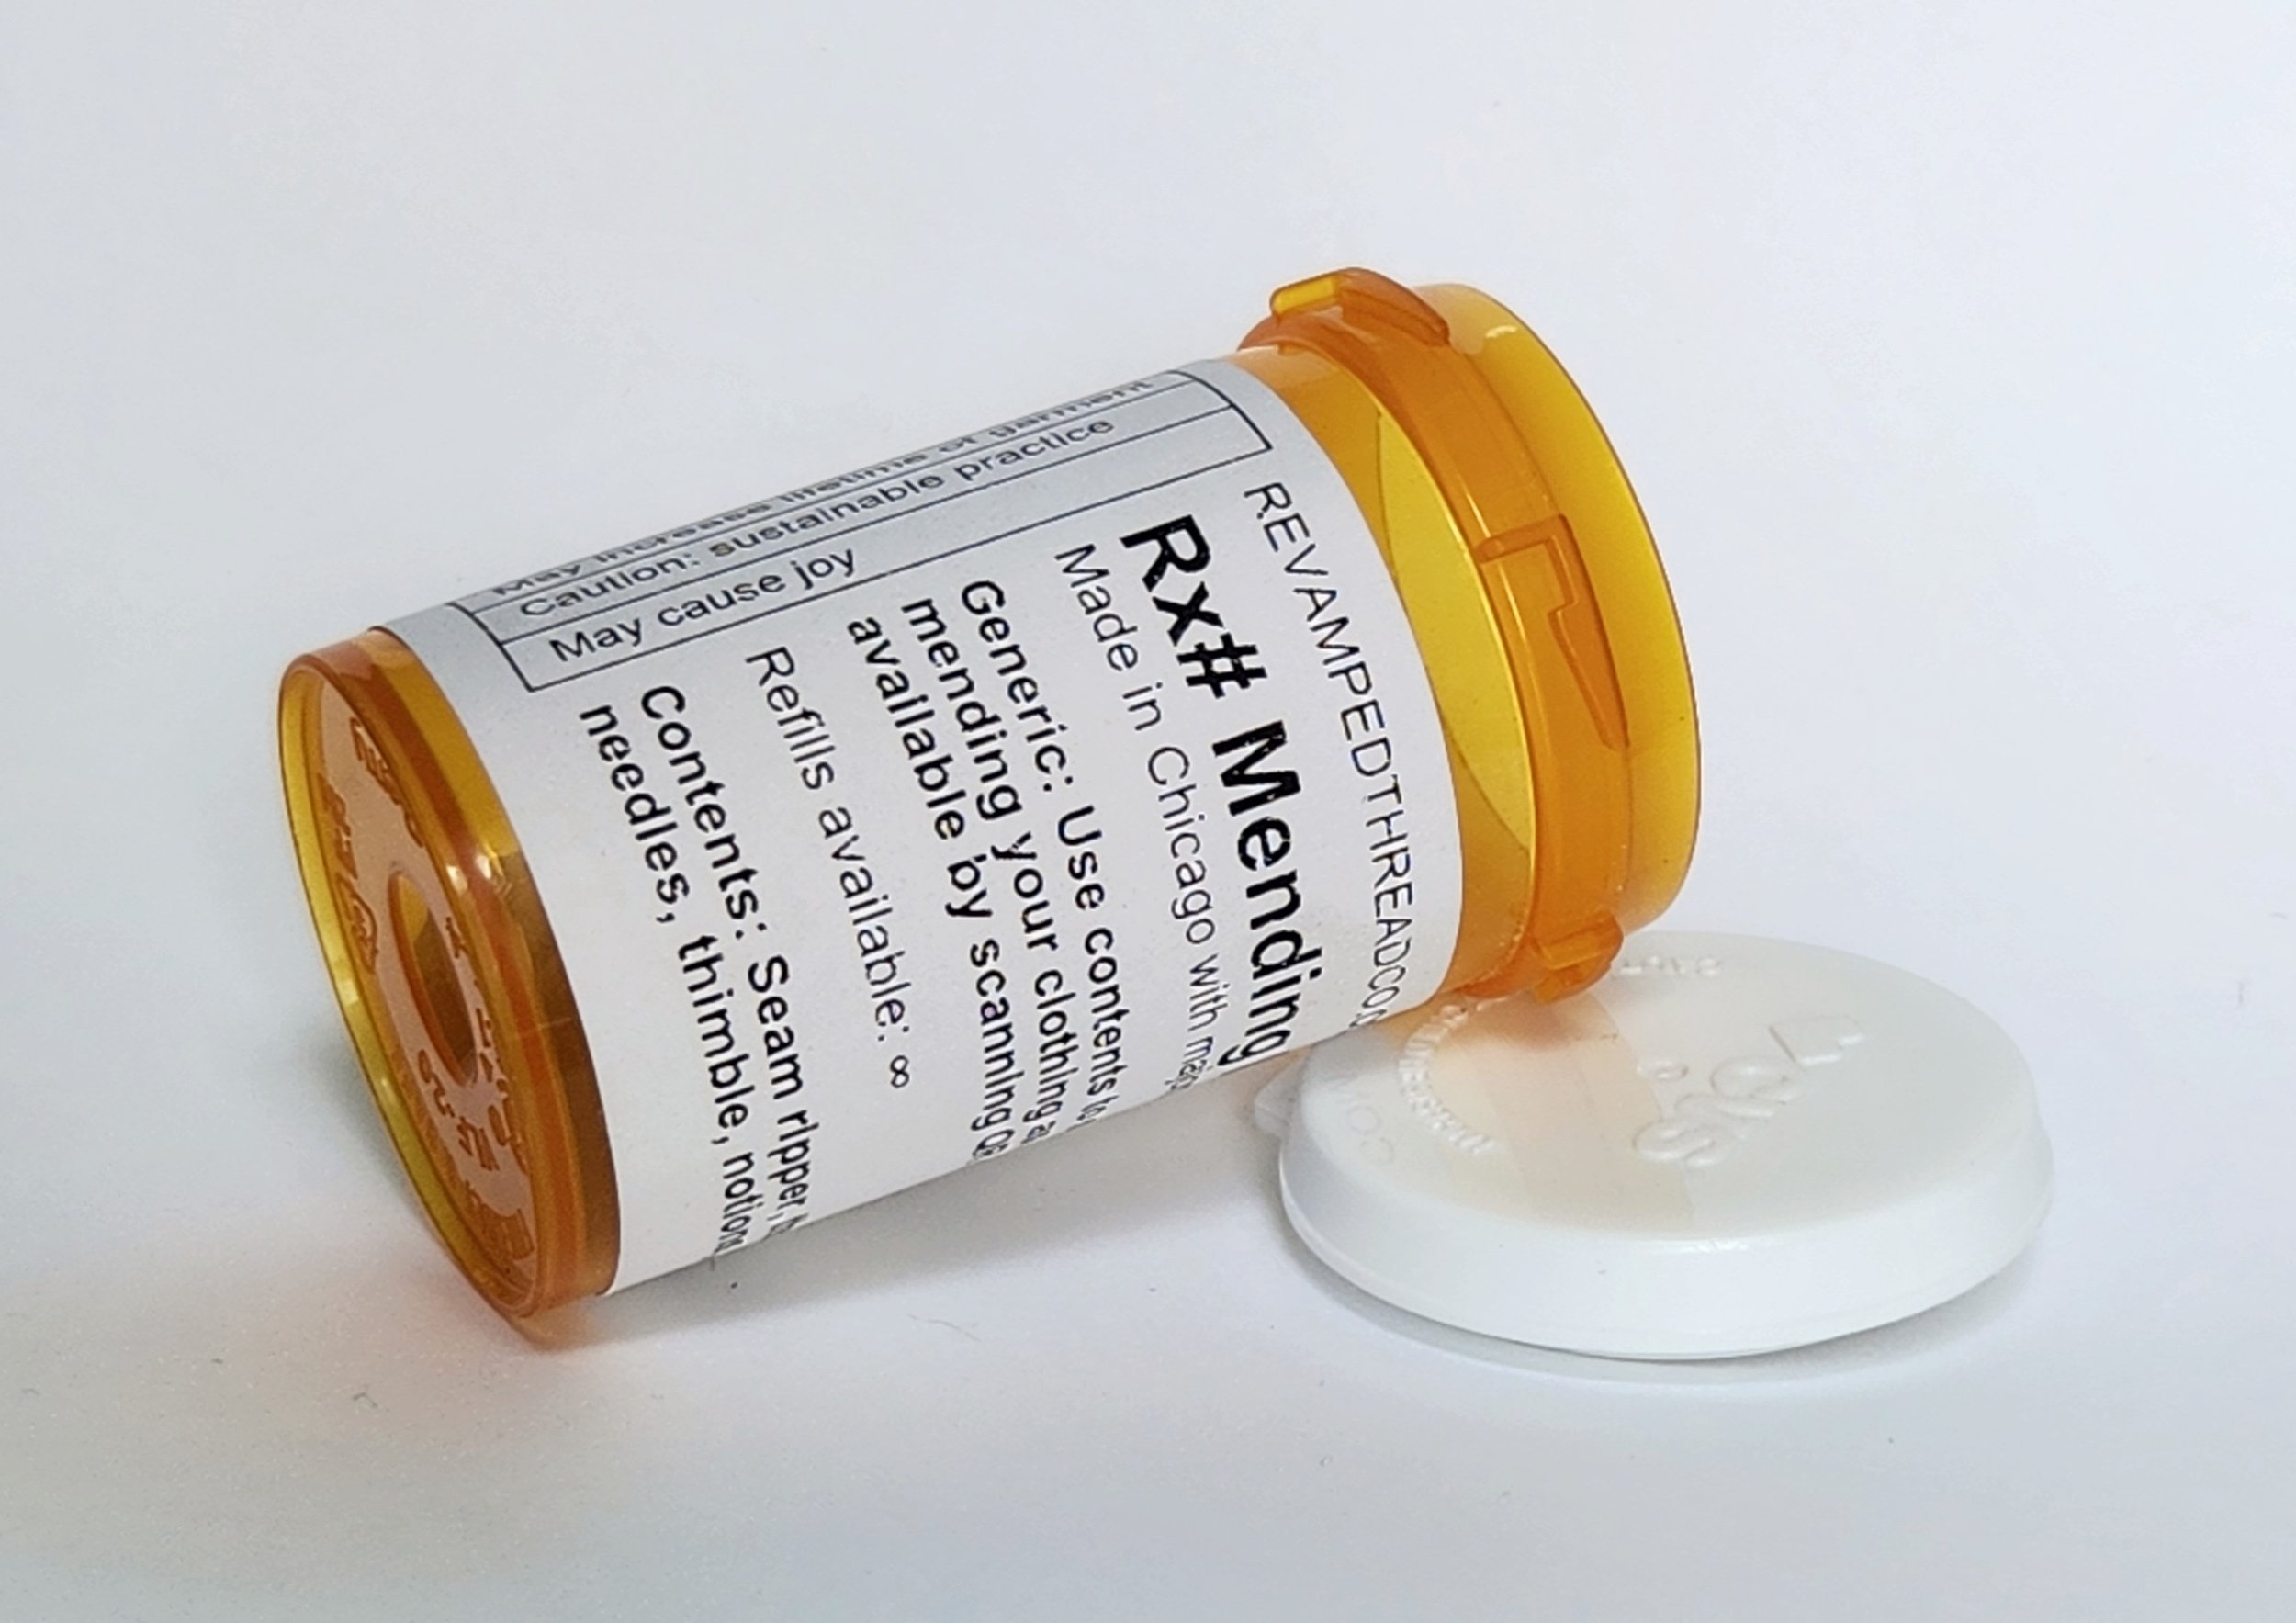
Welcome! This is a page about my Rx Mending Kit 101. This kit is available for purchase HERE, however, you may find some useful information even if you have your own sewing supplies already.
About the Kit
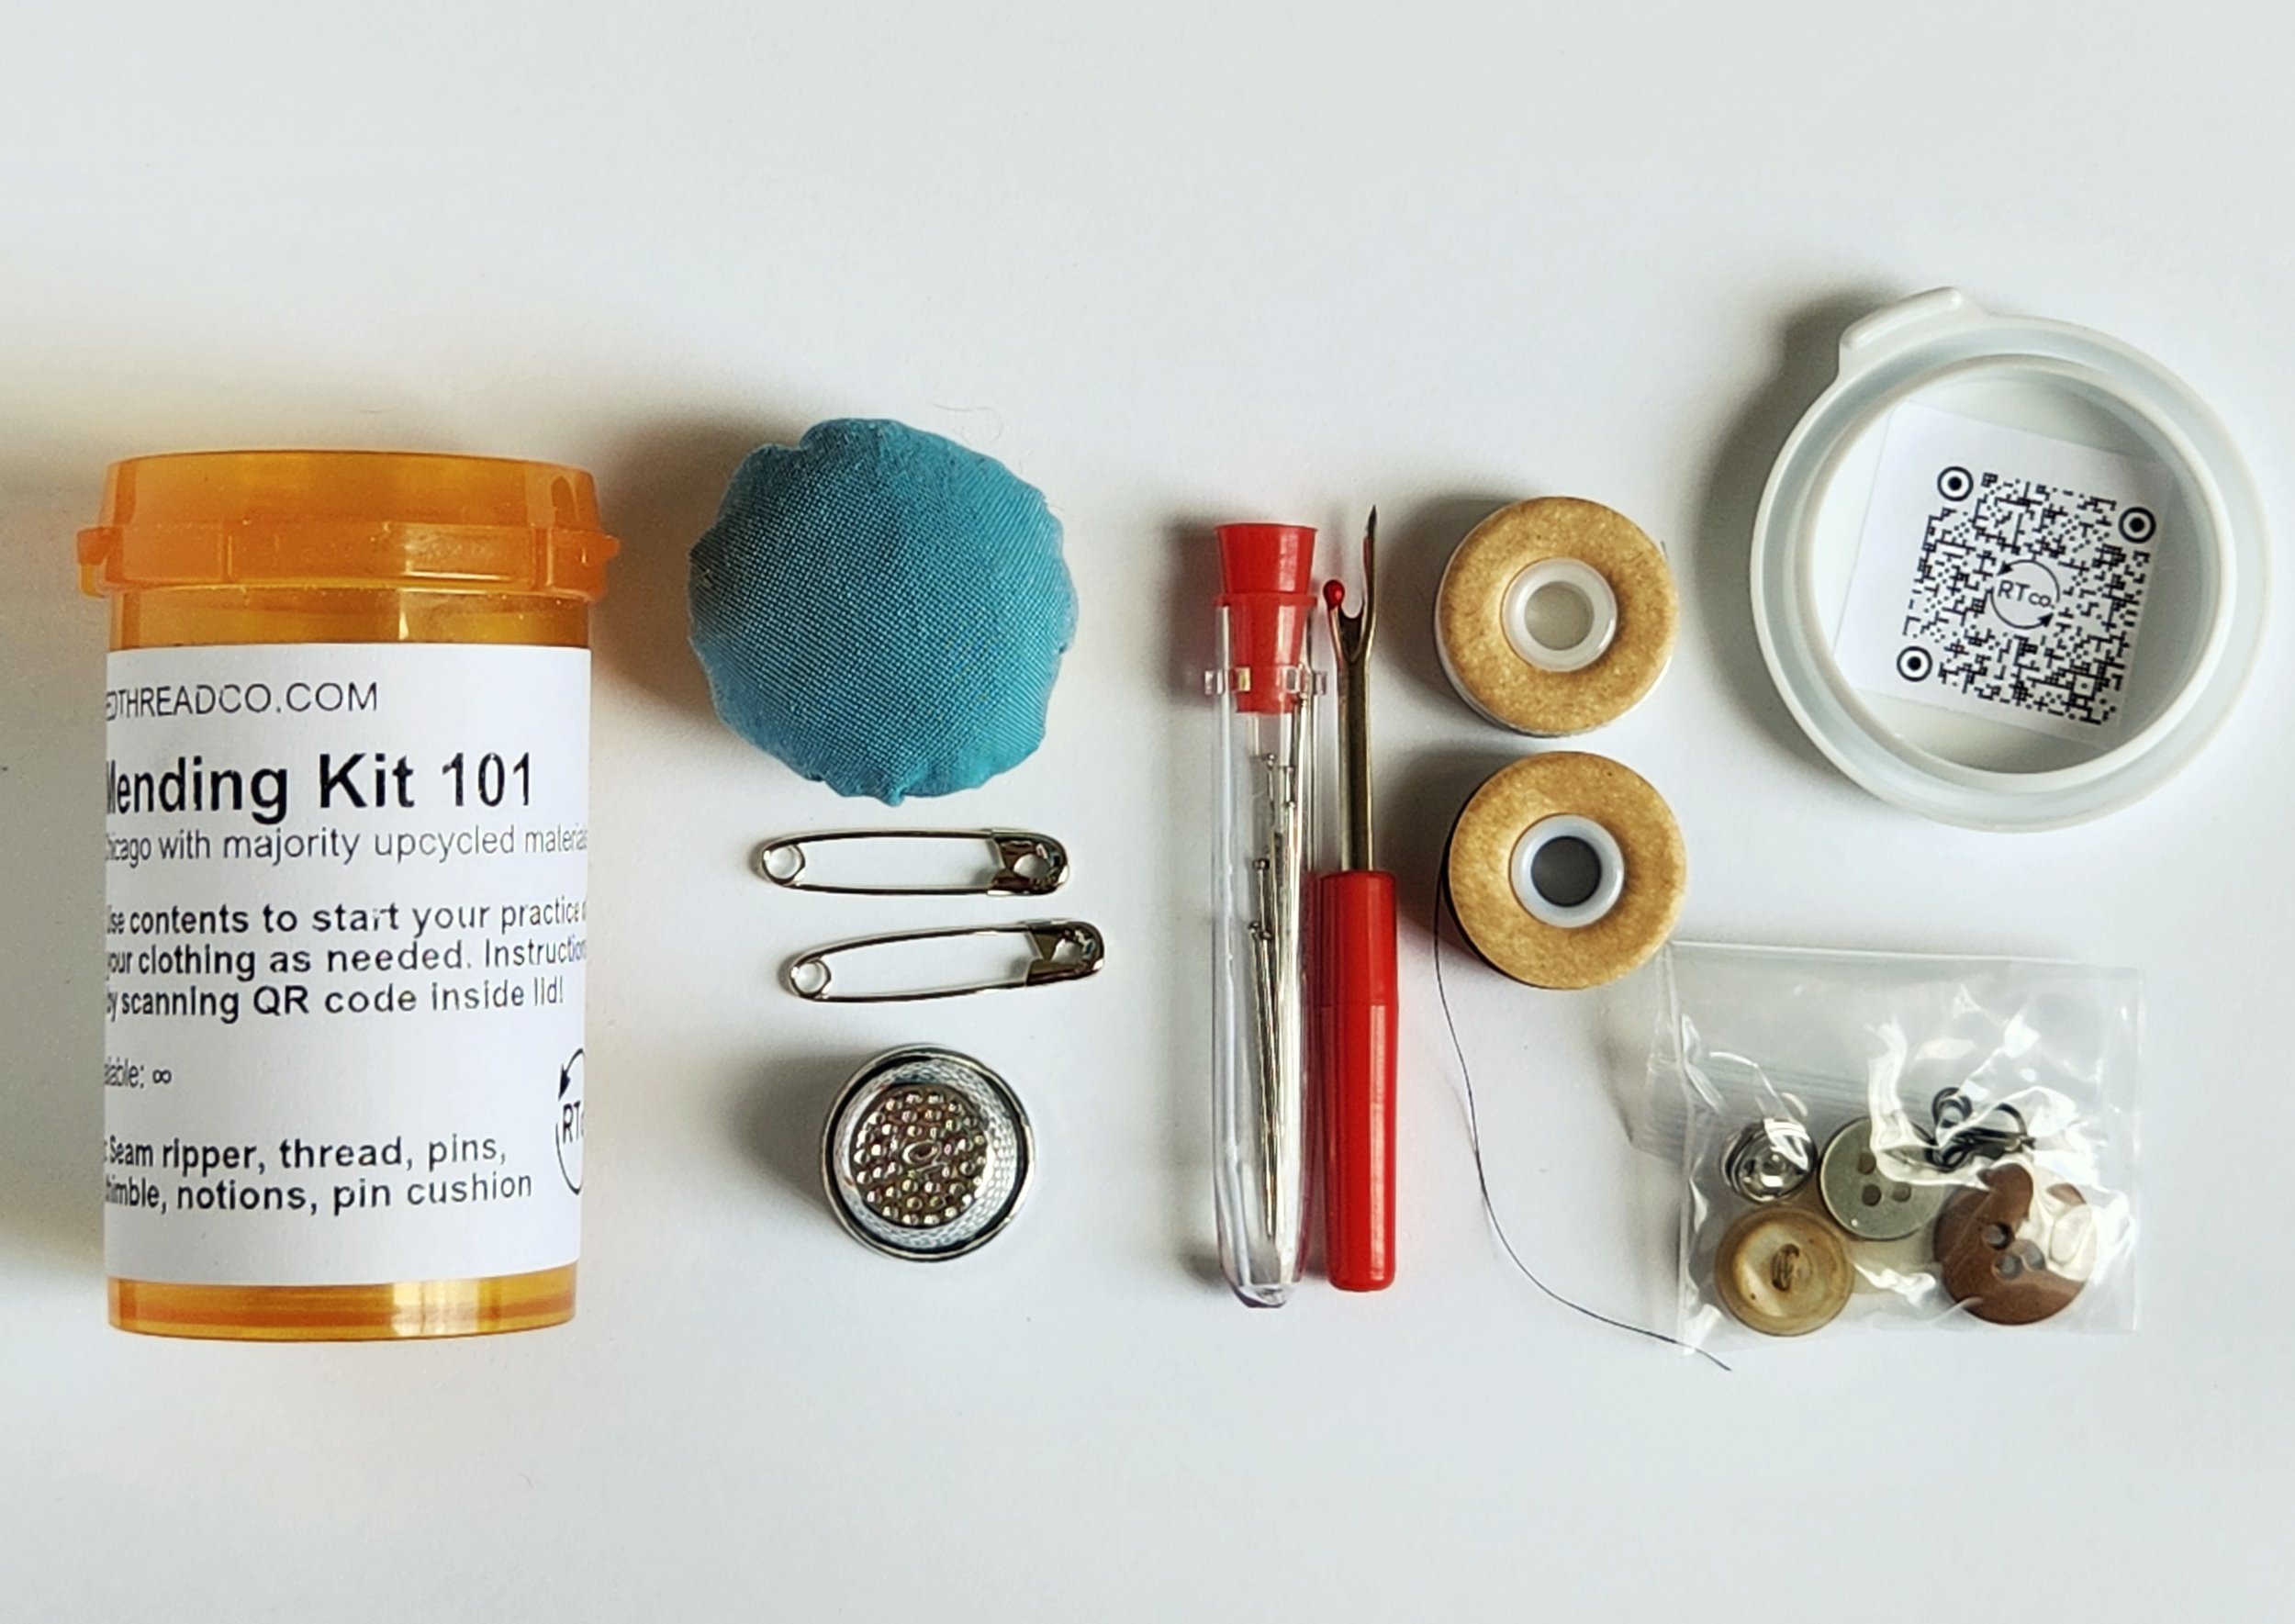
As many items as possible were sourced second hand! I've broken them down into the new and second hand items.
New items:
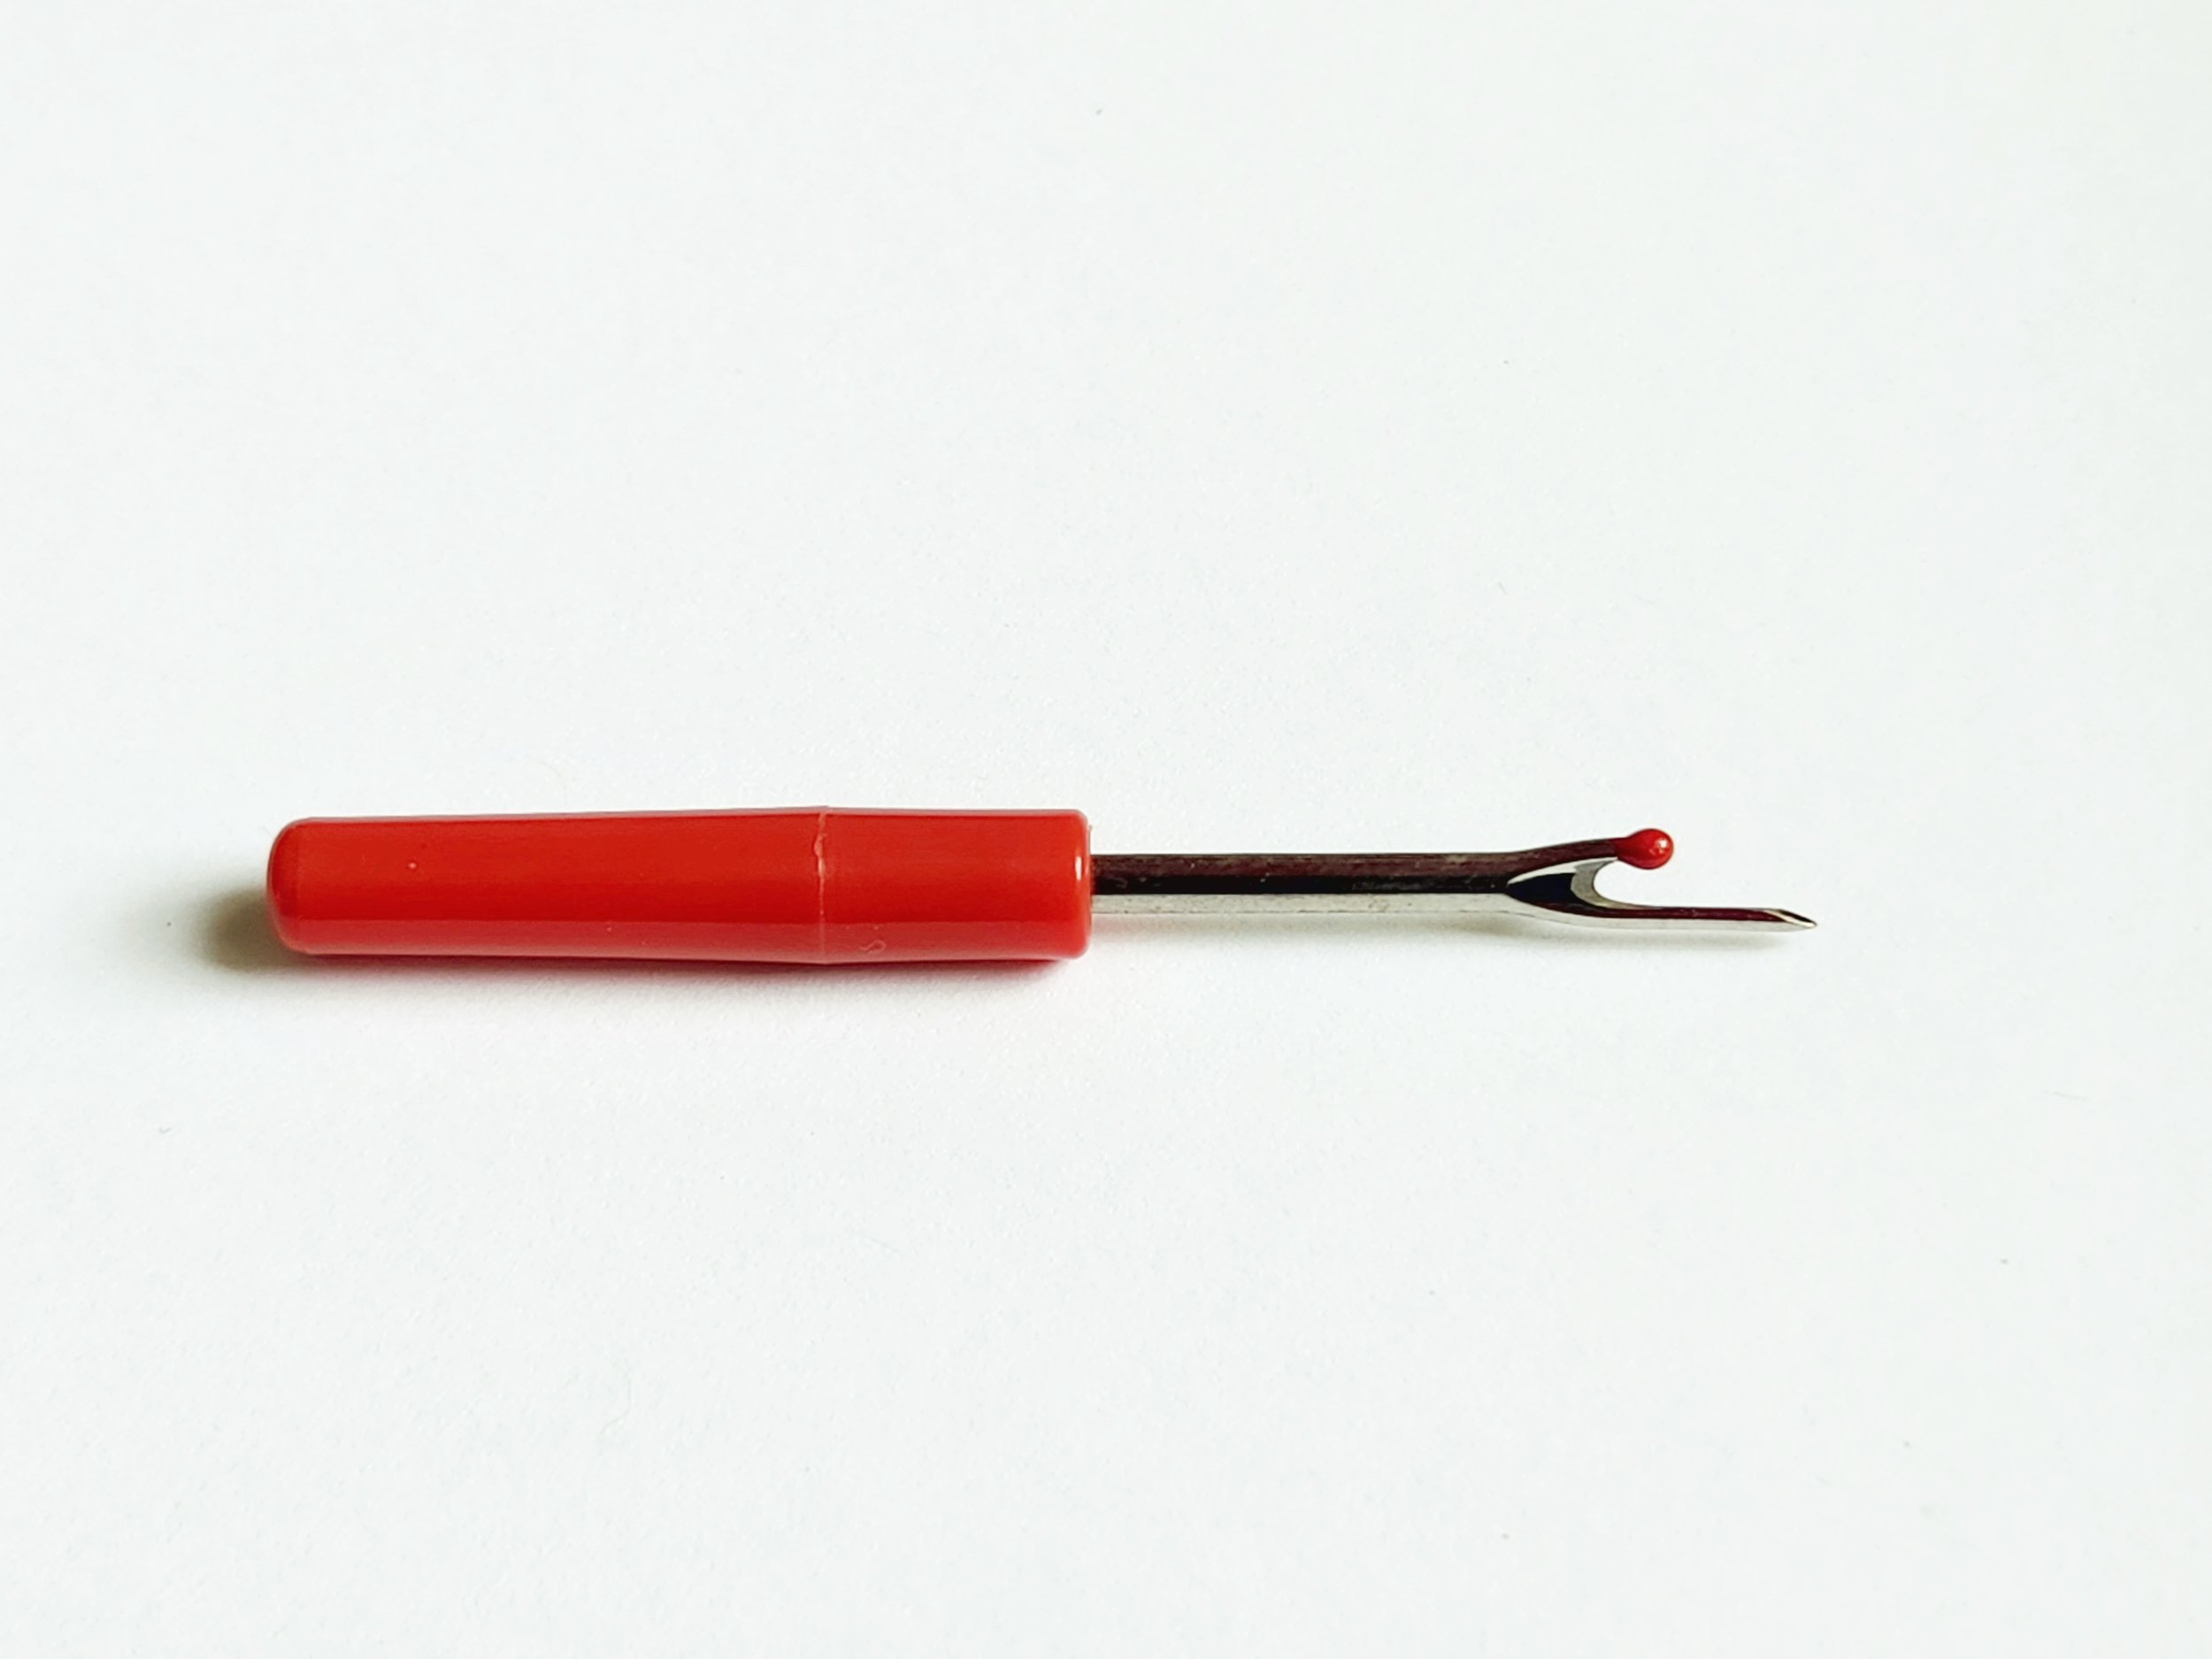
Seam ripper (I've used the lid as a needle case)
Black and White thread
Safety Pins (I hope to collect these second hand in the future!)
Thimble
Second hand items:
vintage sewing needles
vintage pins
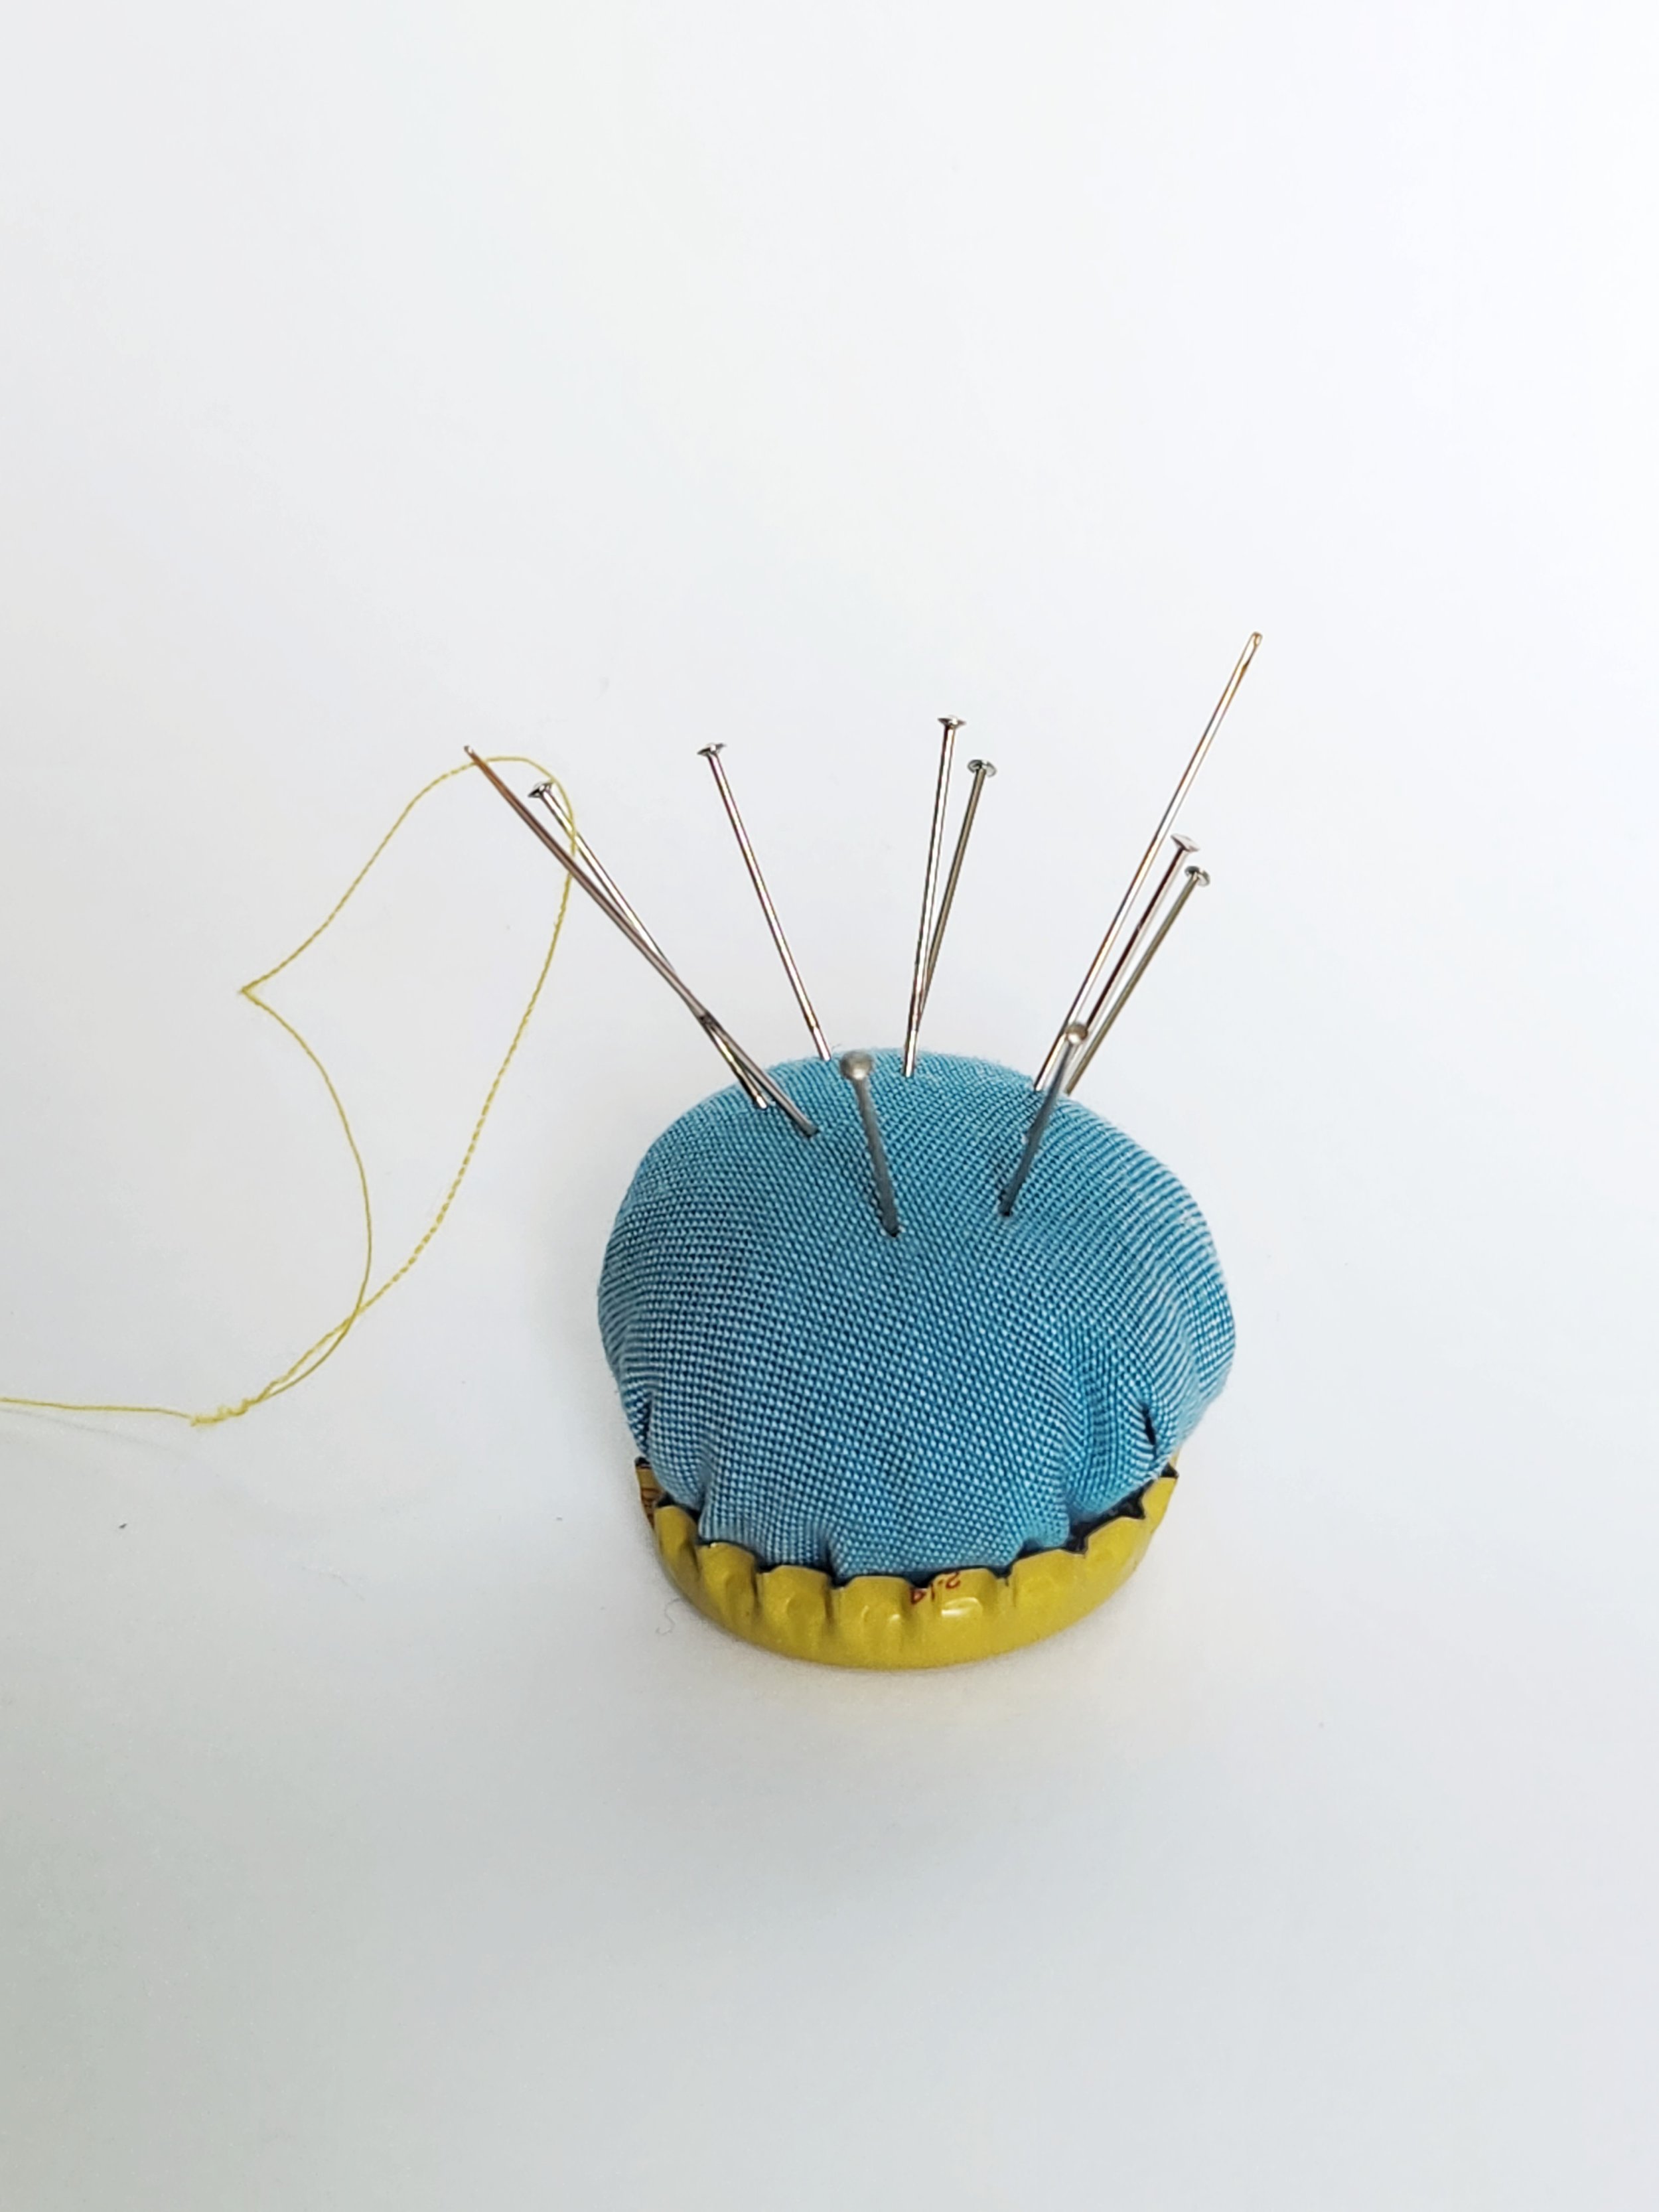
handmade pincushion: made from scraps and bottle caps
RX bottle
vintage buttons
snap closure
hook and eye closure
Things that aren't included that might be handy depending on your project: thread snips or scissors, masking tape to resize your thimble, tailors chalk or water/heat soluble pen.
Seam Ripper
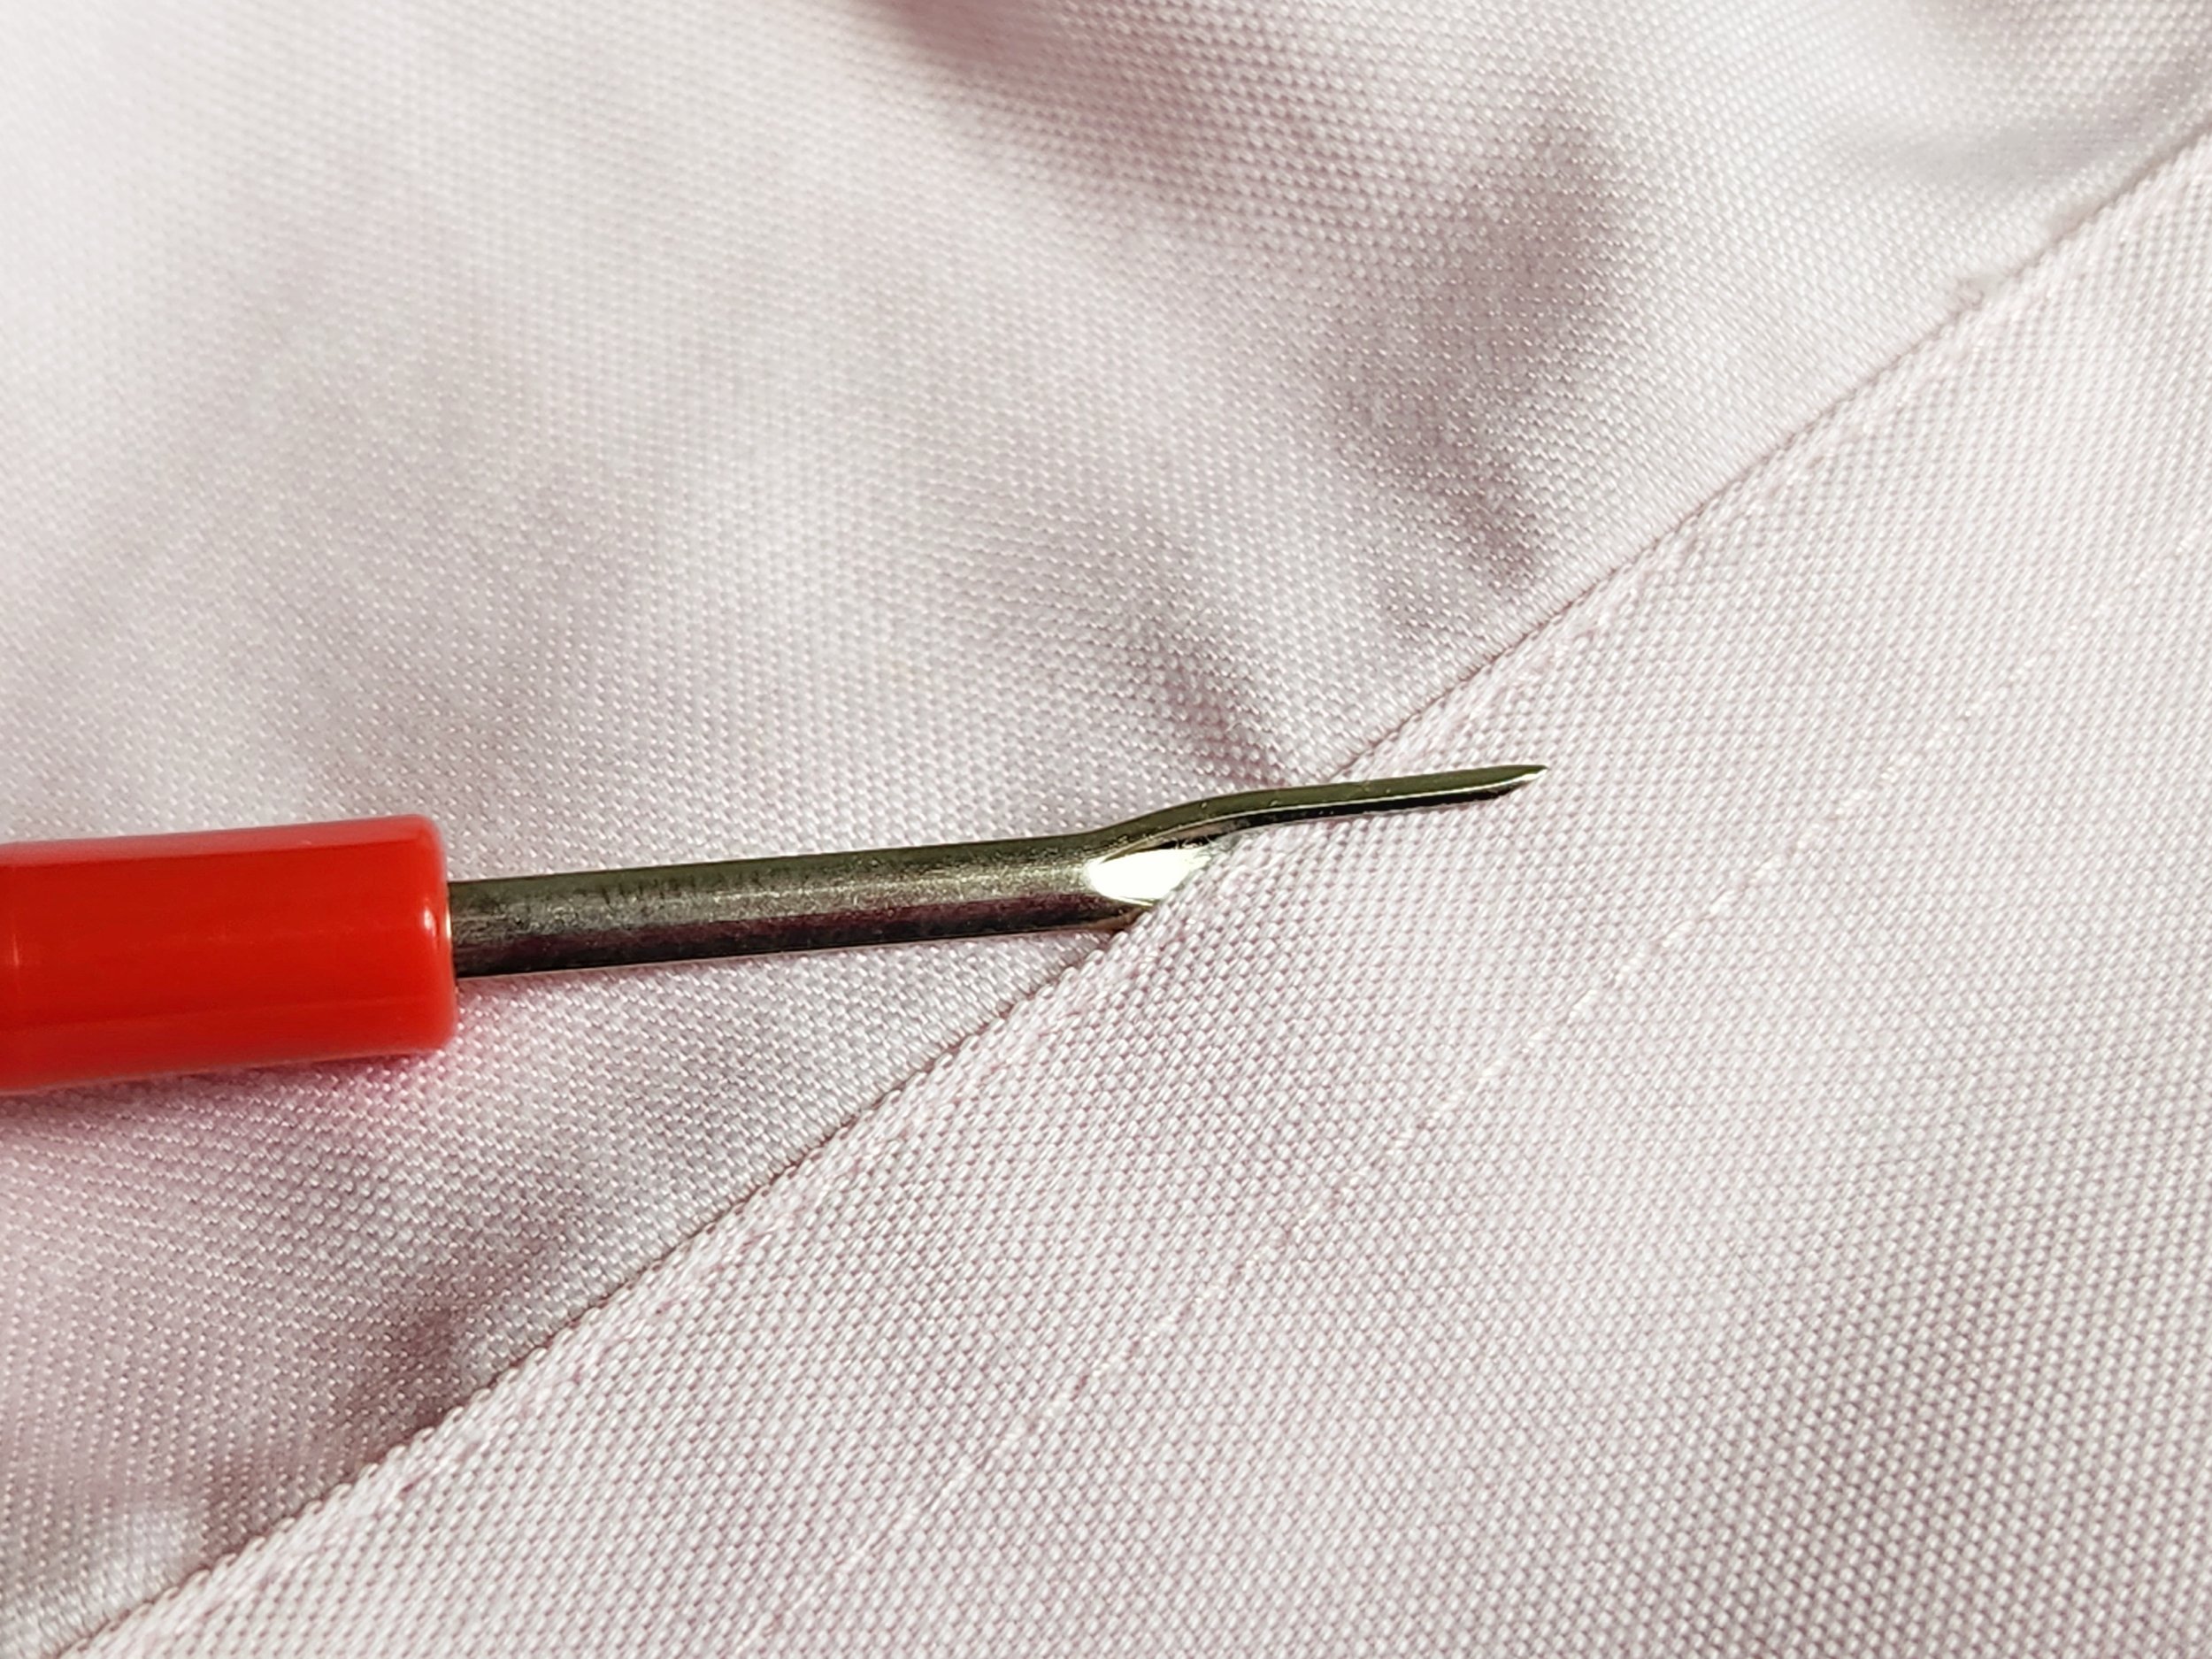
This handy tool is used to open seams of garments. You can use the sharp pointy bit to gently wiggle under a visible stitch or use the ball end inserted into a seam to continuously cut the seam as you go - though this technique is better suited to sturdier fabrics. Be careful, the point of the seam ripper and the curved blade are sharp! In a pinch you can also use your seam ripper to cut thread - though you'll get cleaner results with scissors or thread snips.
A seam ripper can be effective on machine sewn seams as well as hand sewn seams.
Black and White Thread
This is new polyester thread on cardboard bobbins. Sadly, thread does deteriorate over time. So while it can be tempting to pick up vintage thread for the aesthetic, I'd avoid using it as it can be prone to breaking. This thread can be used as a single strand or doubled for strength. More about that in the NEEDLE section. Select a thread color that matches the fabric of your project as closely as possible (or go for a contrasting visible stitch - the world is our oyster!) If neither black or white will blend well with your project, thread is fairly inexpensive and you should be able to find the color you need at your local craft store.
Safety Pins
Great for a temporary fix, safety pins are a strong and safe way to hold two pieces of fabric together without stabbing yourself. I often use safety pins to reduce gaping between button holes on shirts. Safety pins are intended to be temporary, but I wouldn't be the first person to have a safety pin in the same dress for years while procrastinating the fix!
Thimble
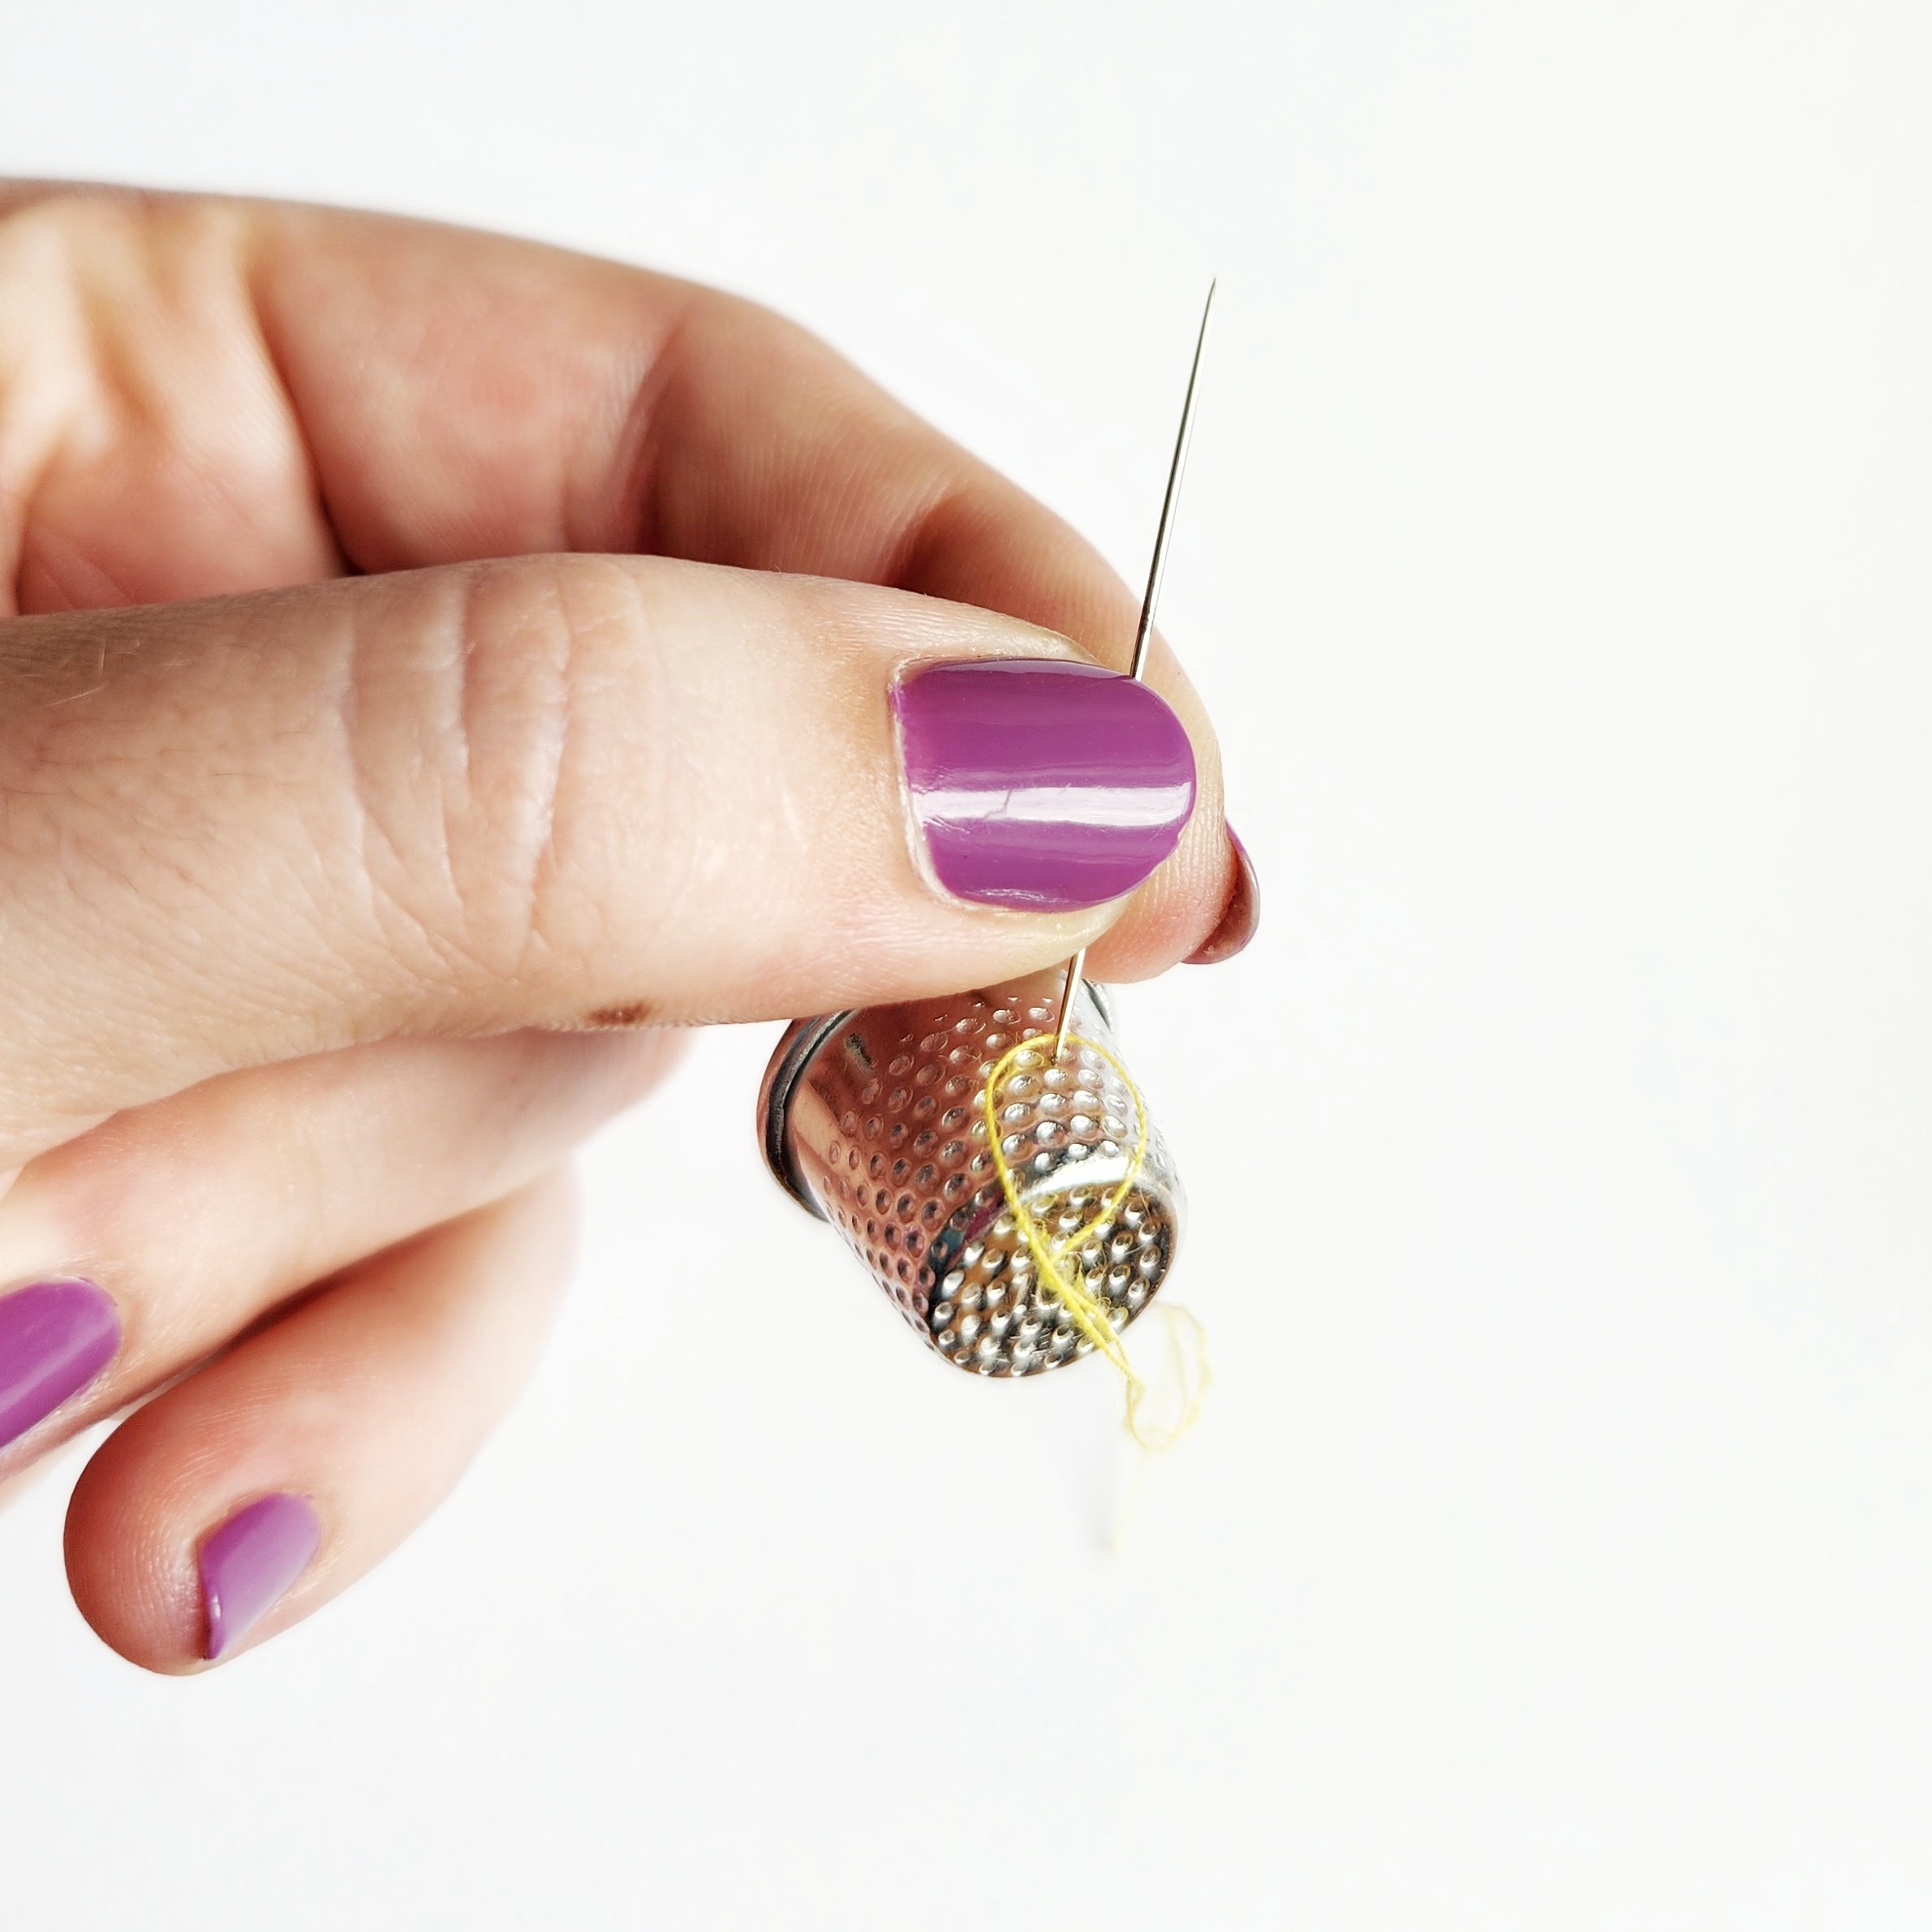
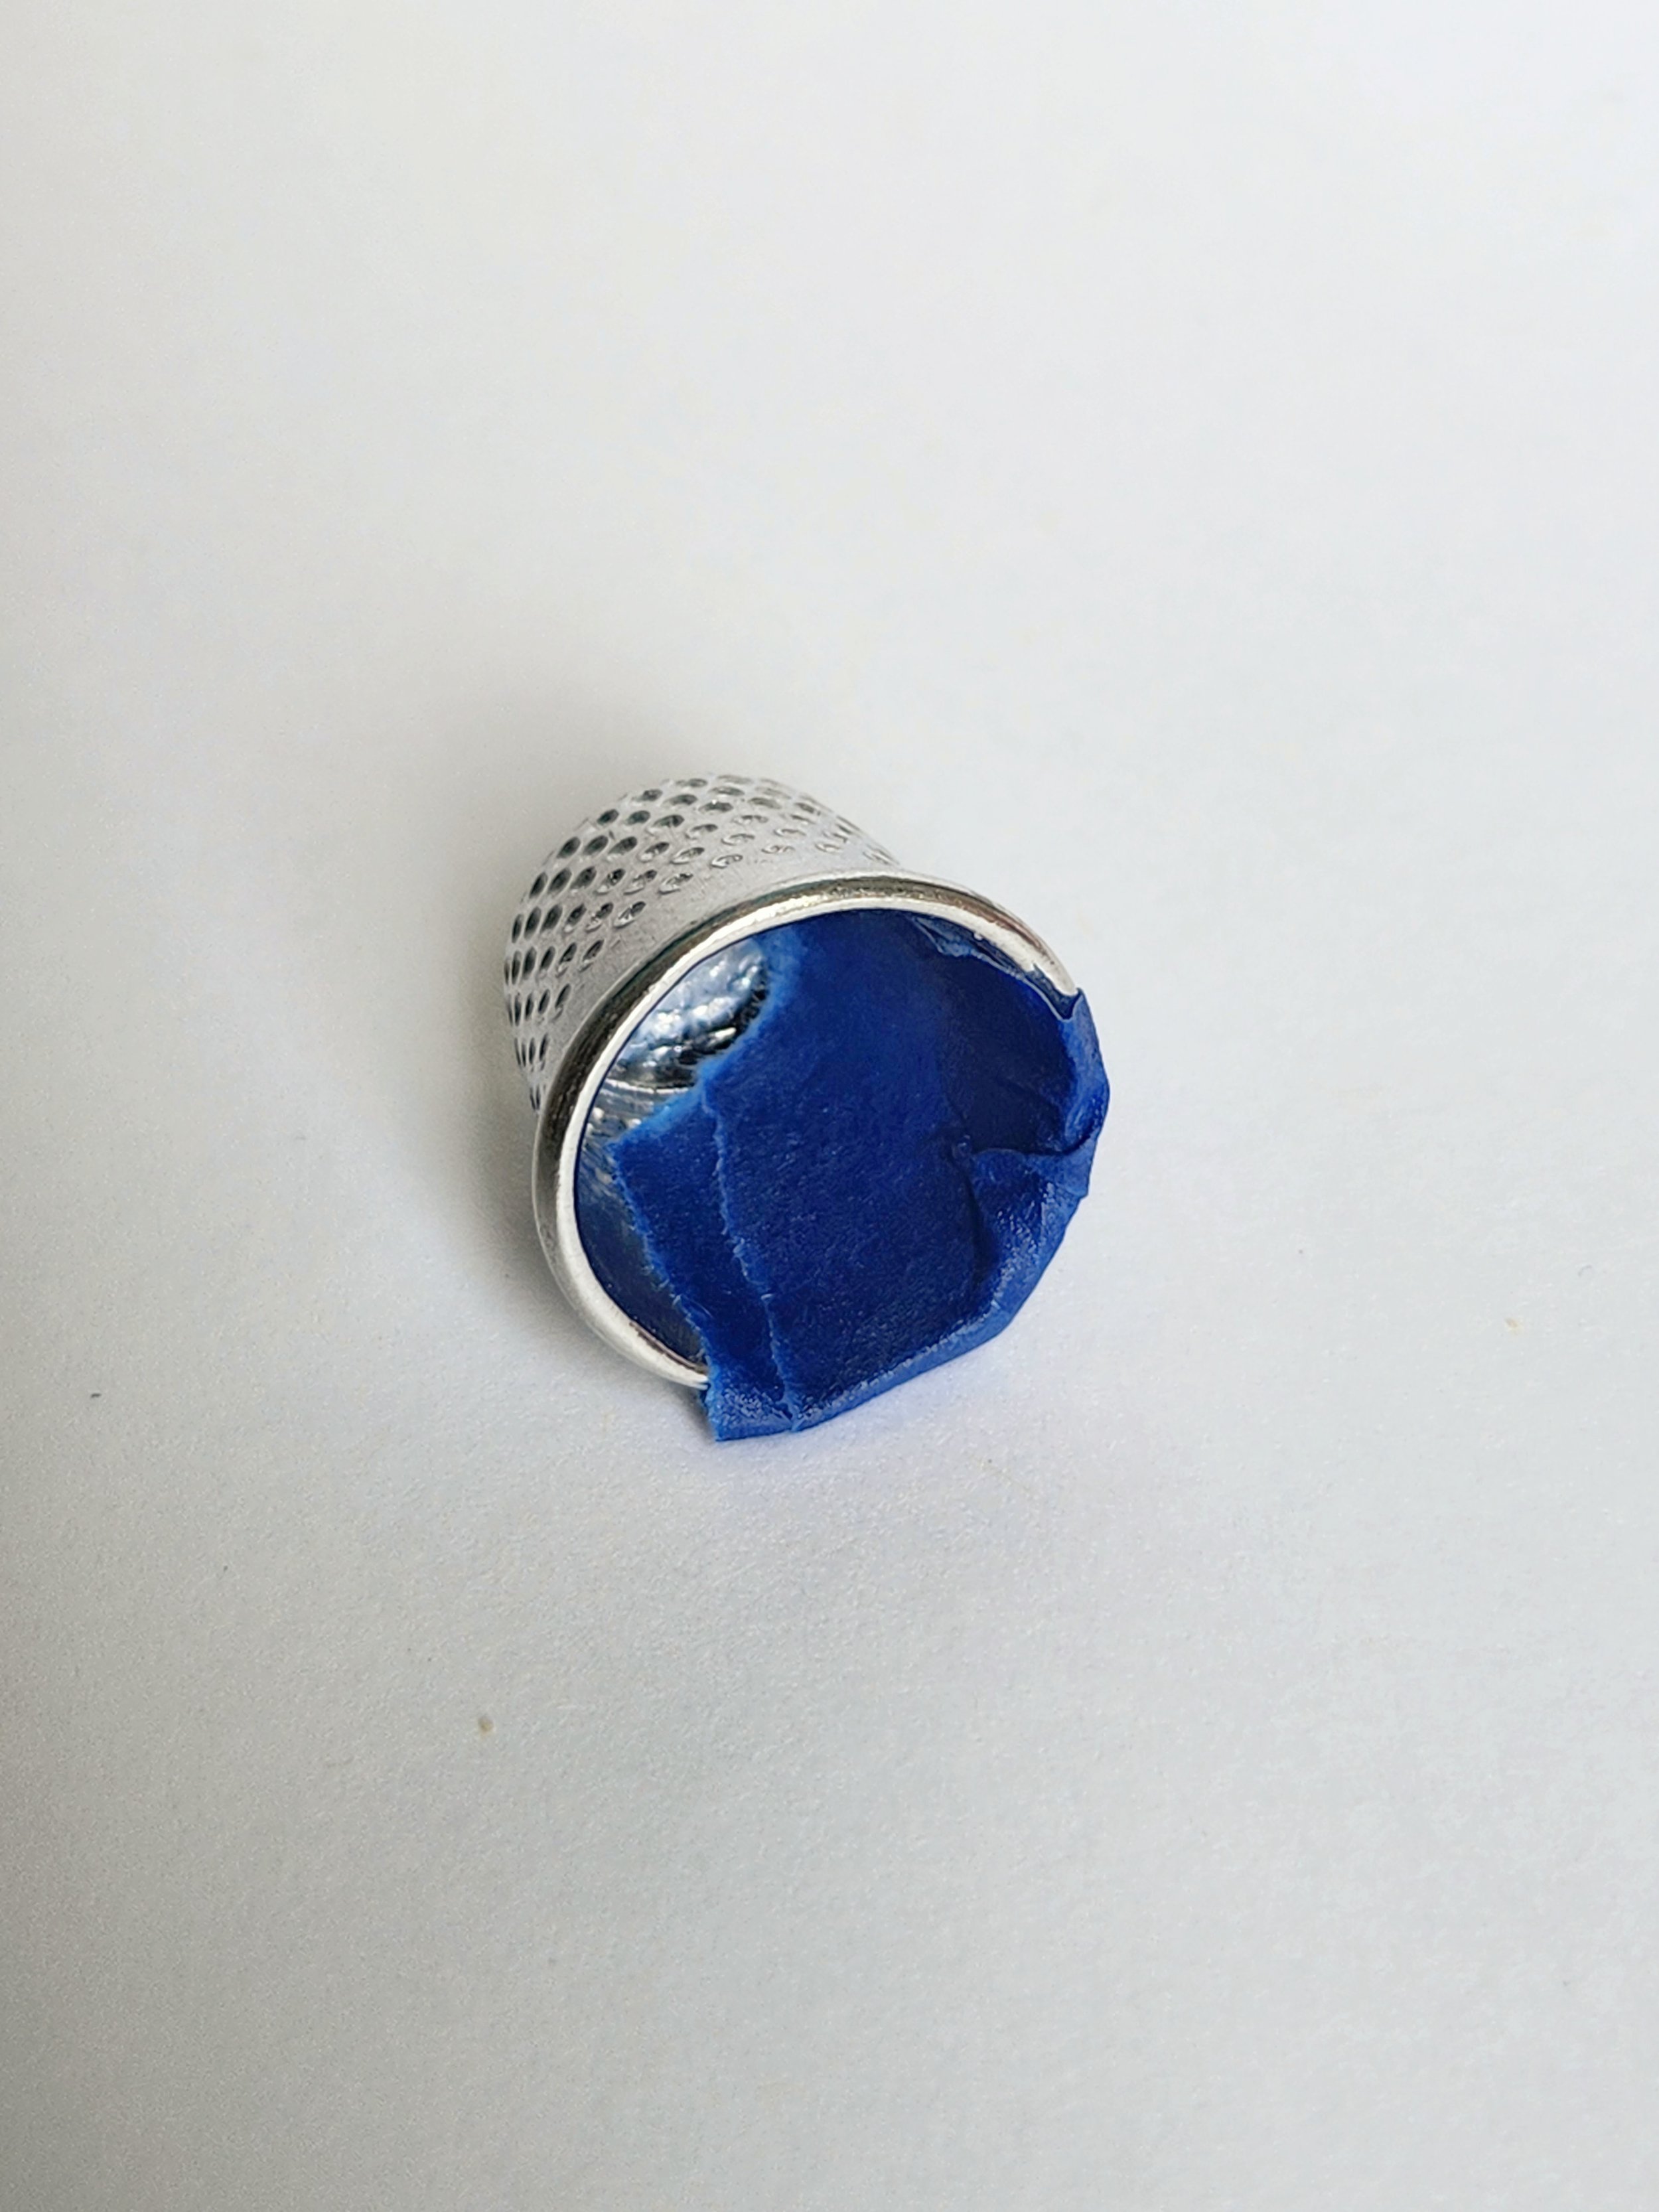
Thimbles can feel awkward at first - this thimble may or may not fit your finger well. The "proper" way to use a thimble is on the middle finger, using the side of your finger to push the head of the needle along as you stitch. However, you can try other fingers or techniques to see what is comfortable for you. To resize this thimble if it is too large for you (i.e., it doesn't stay on your finger when you point your hand at the ground) try adding a few layers of masking tape to the inside of the thimble, or even bending it slightly.
Vintage Sewing Needles
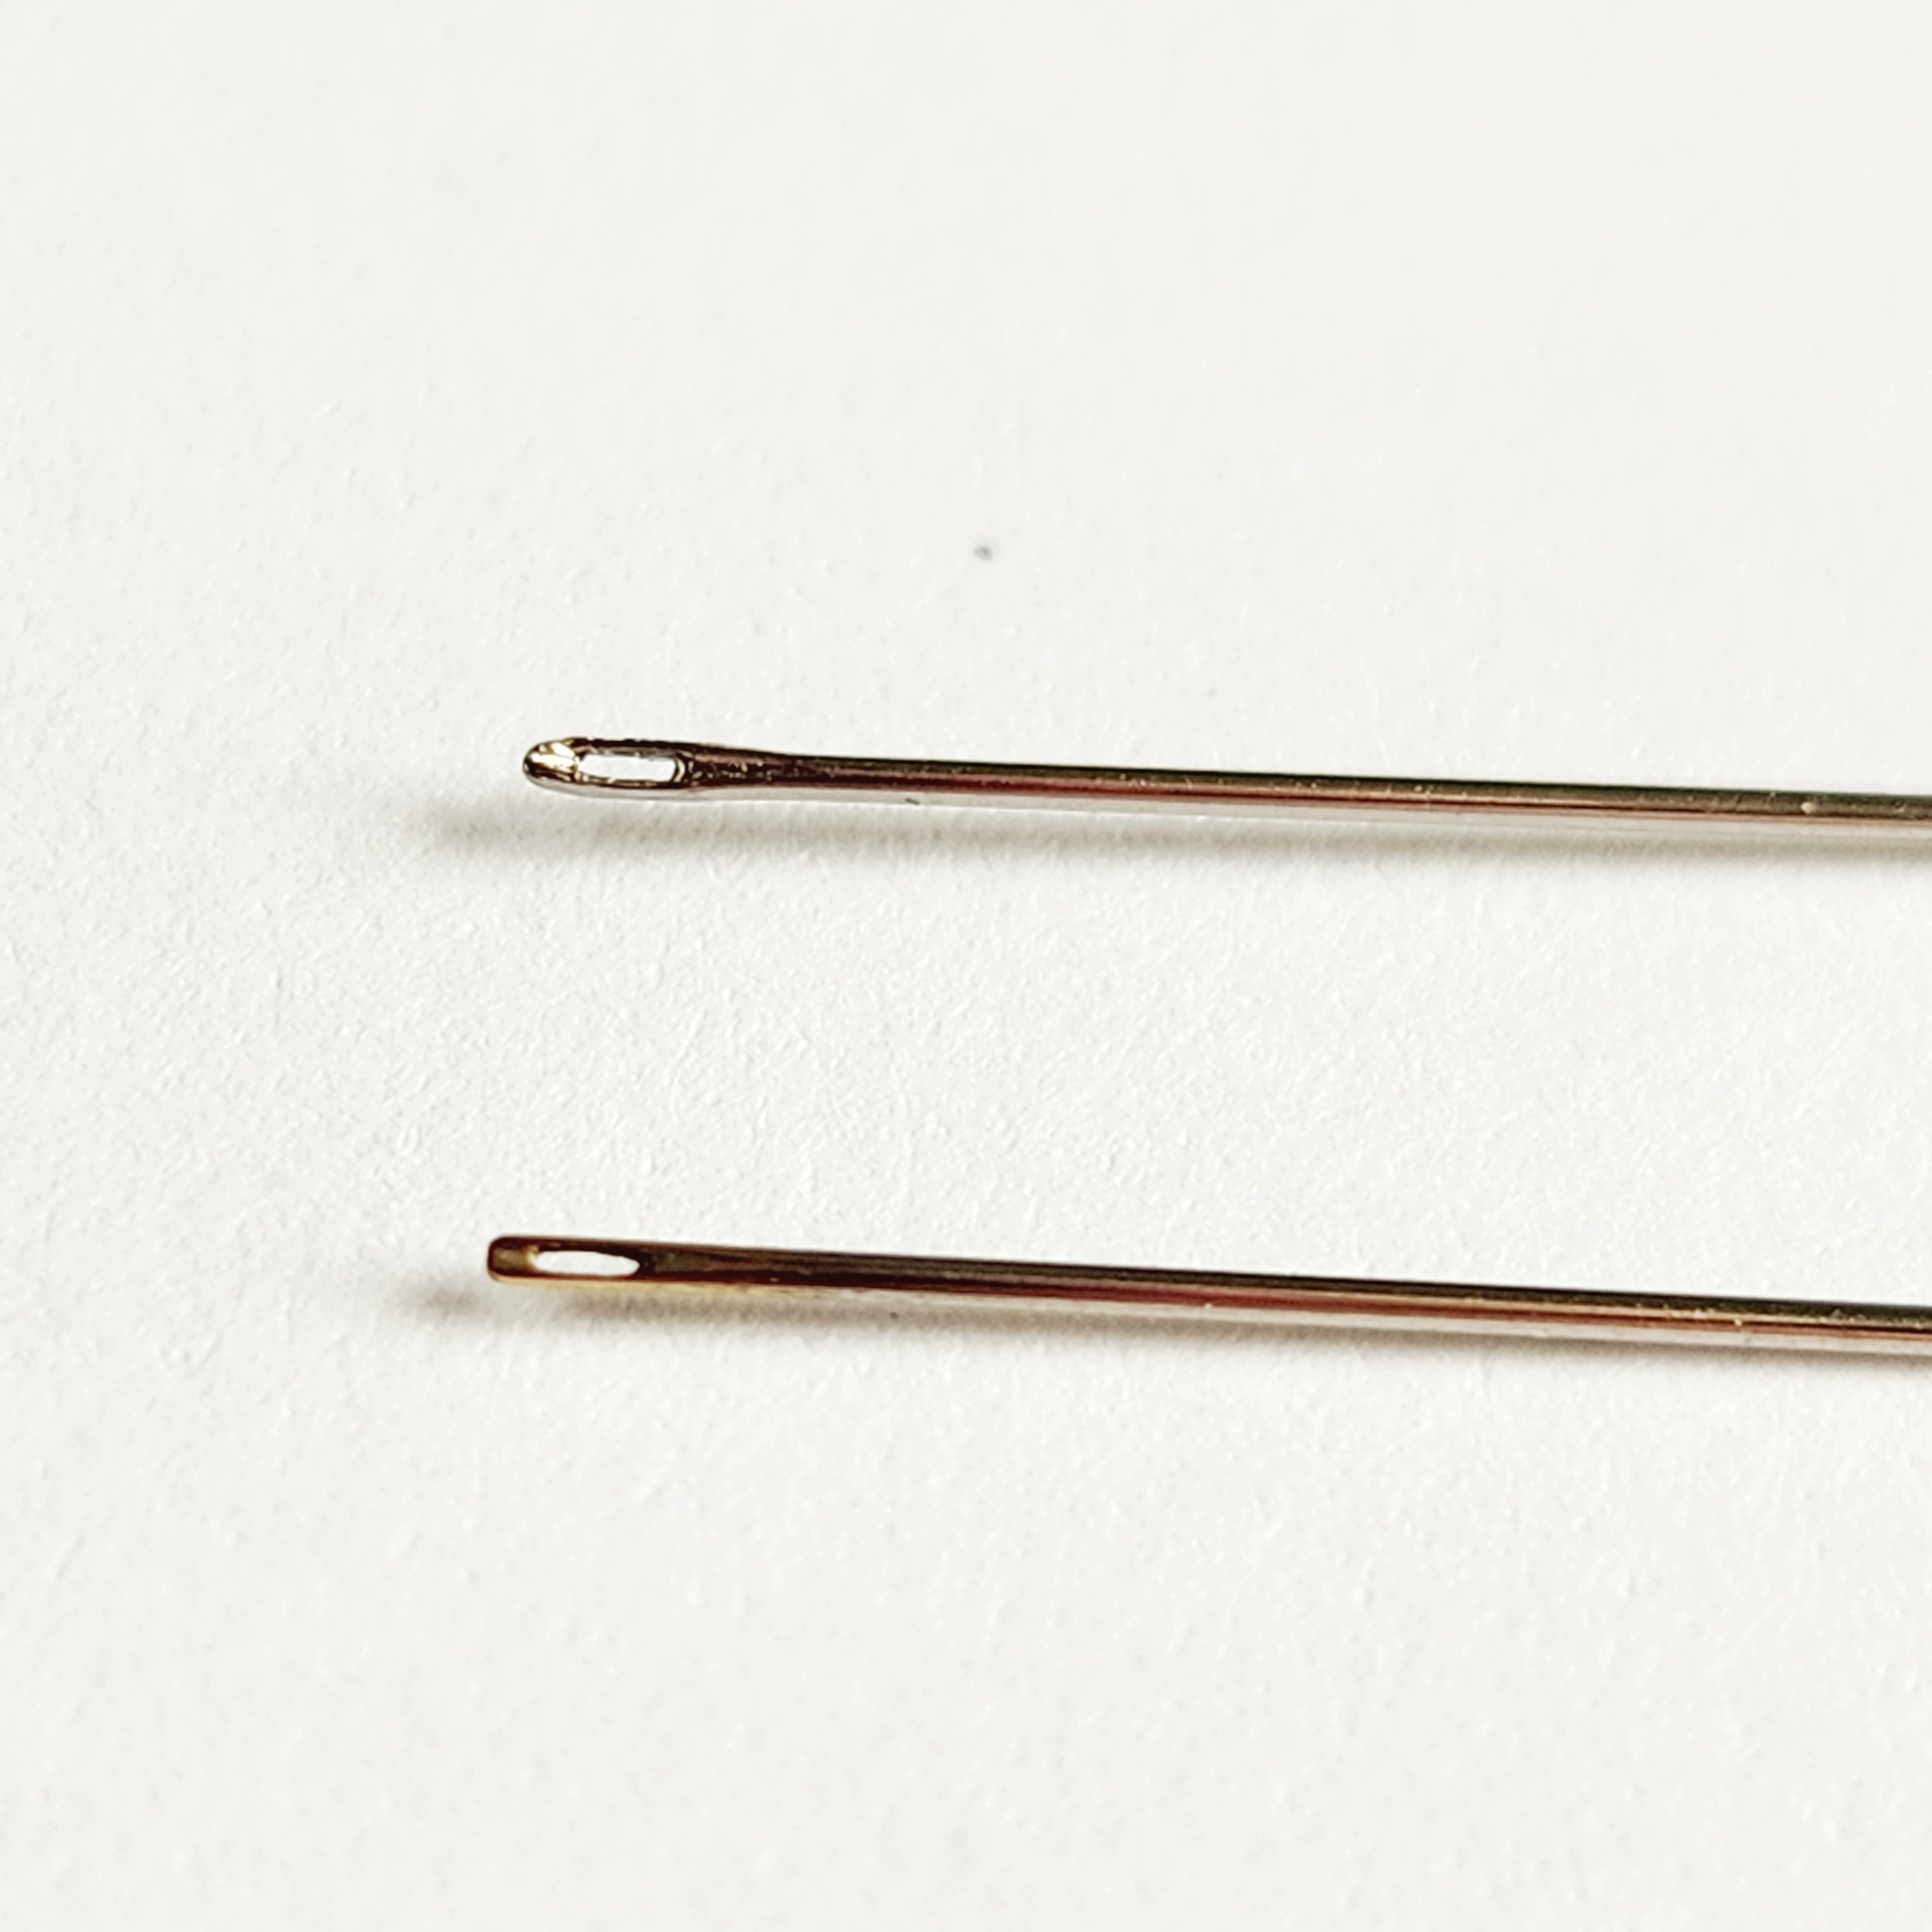
Many modern mending kits are available at drugstores and only cost a few dollars. While these kits are economic, one of the more frustrating things about these kits is the quality of the needles. Here is a modern, cheap needle from one such kit photographed next to a vintage needle. What do you notice about the eyes of the needles? If you look closely, you'll see rough metal and "burrs" on the modern needle. These can scrape your thread as you are sewing and eventually wear through. I personally find these needles frustrating to use and I avoid them.
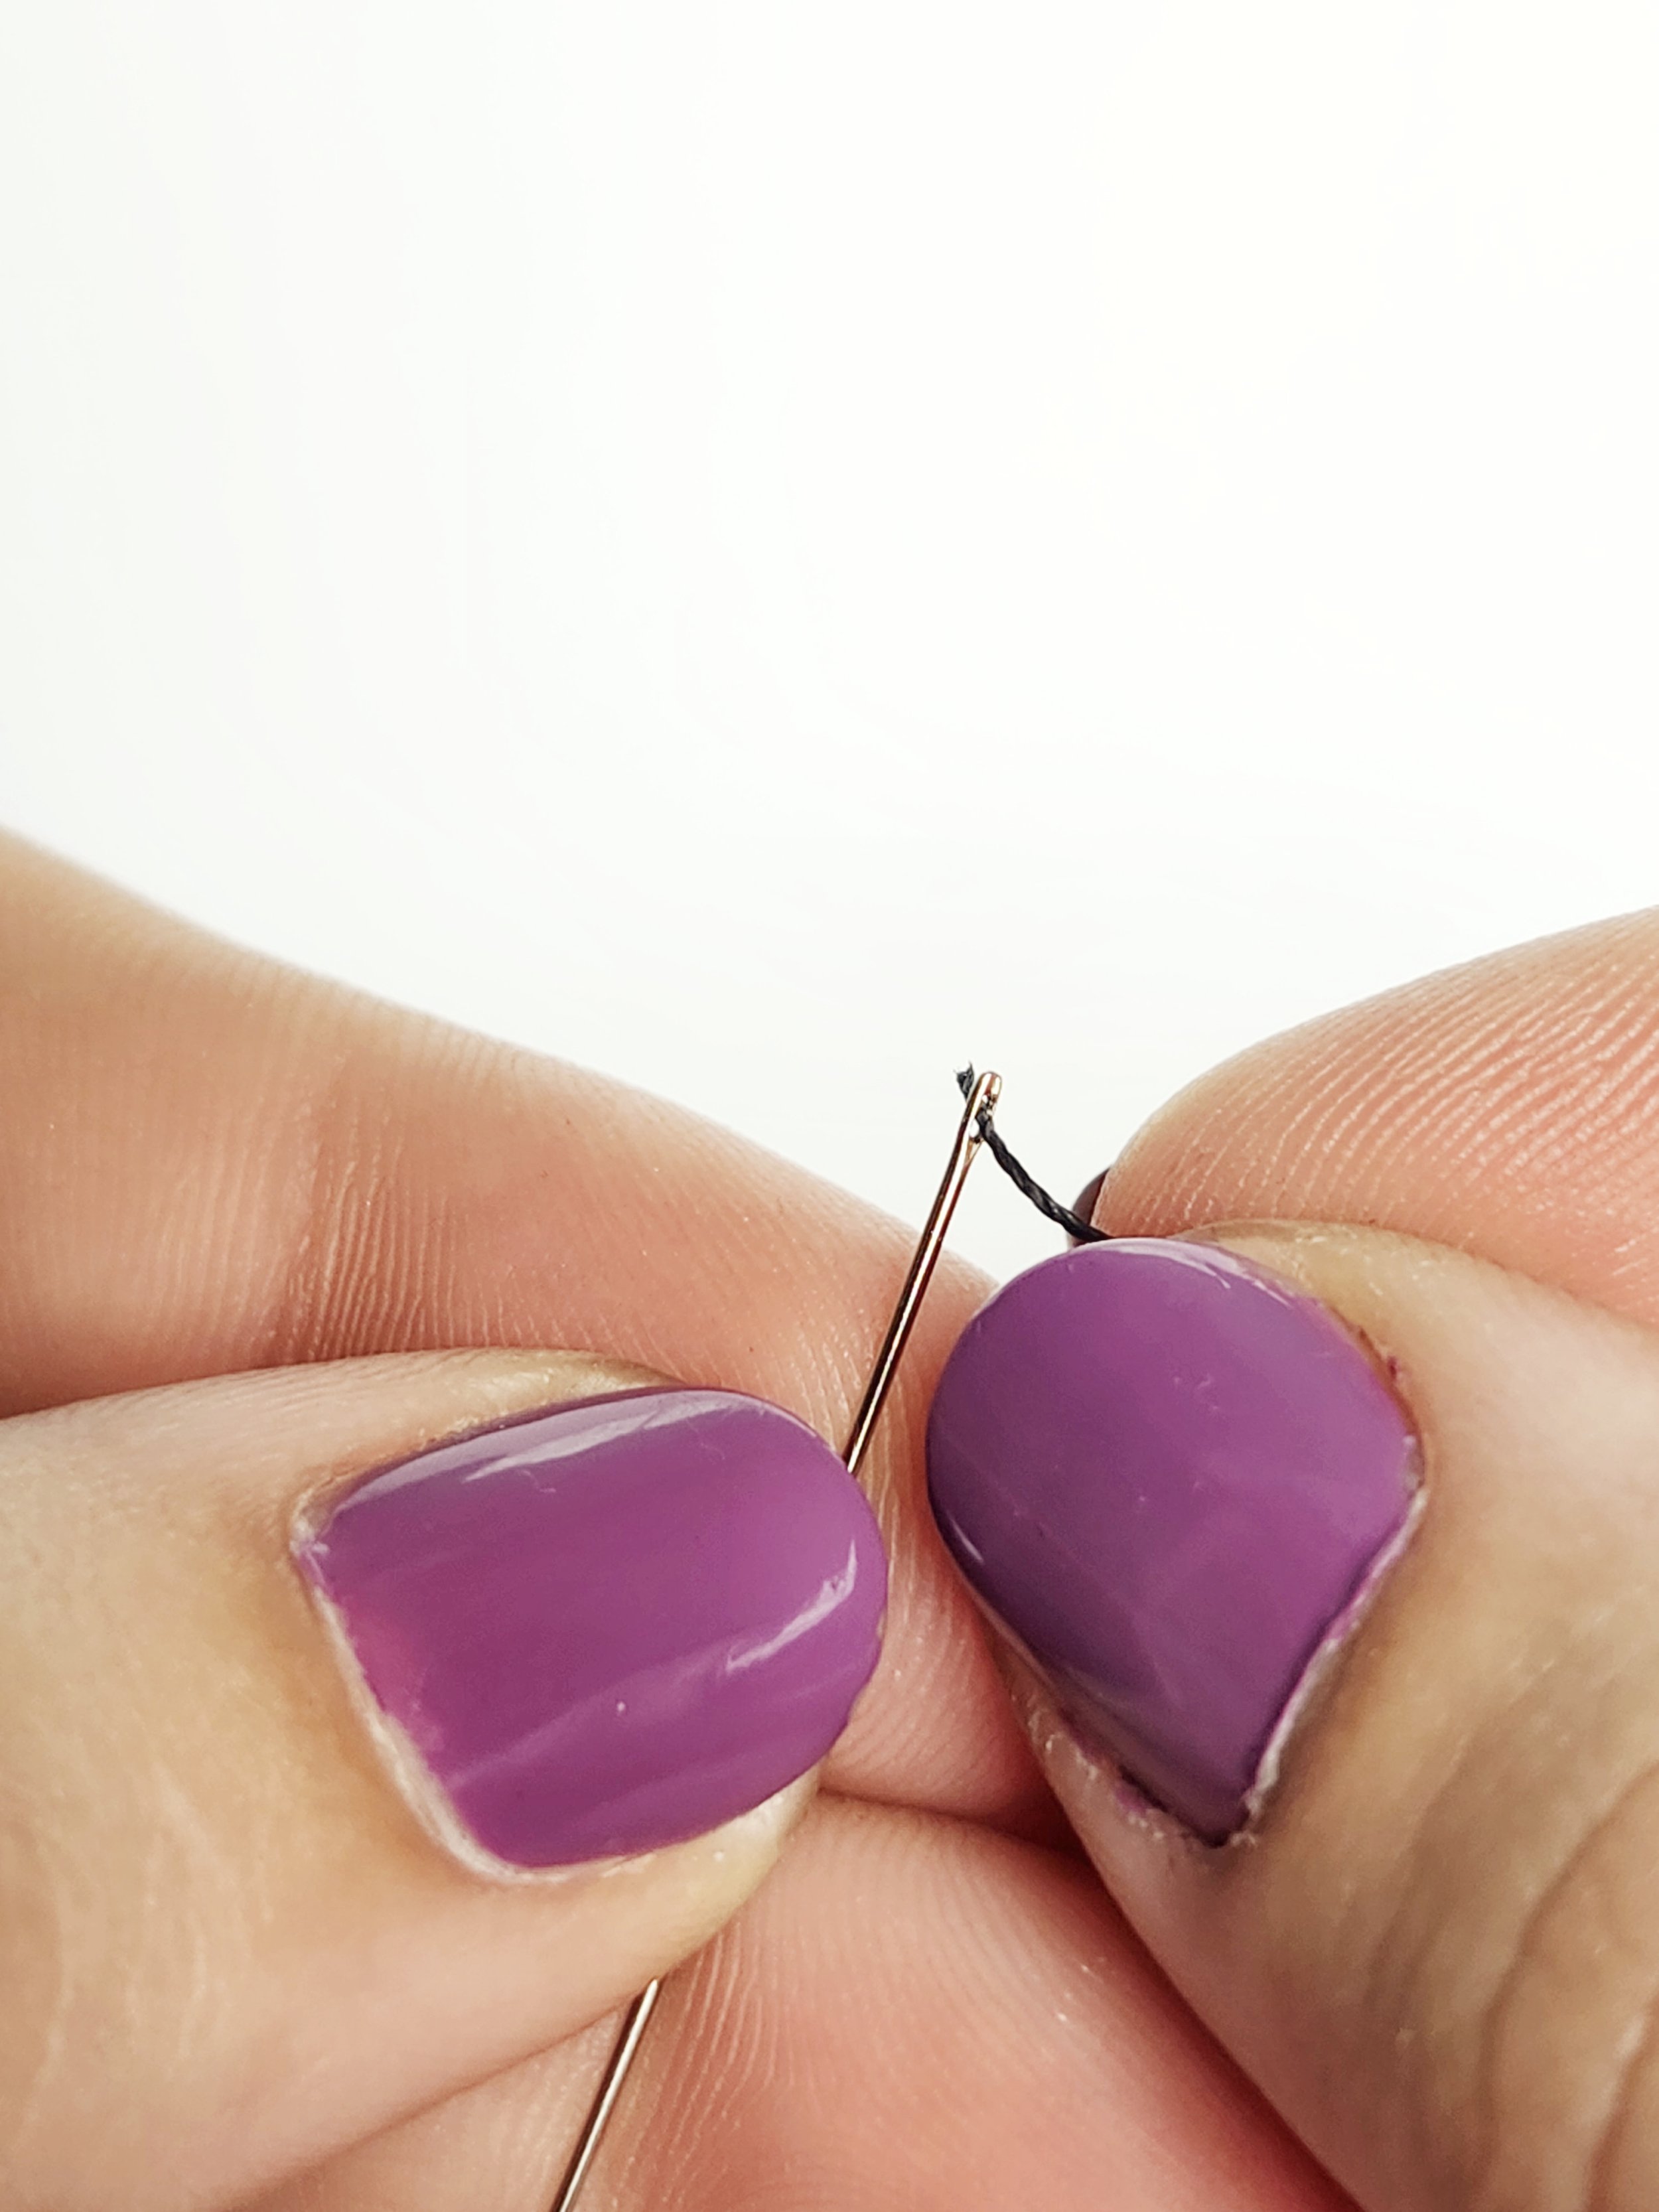
To thread a needle, snip a length of thread slightly longer than the length of your arm. This will give you plenty of thread to work with, but not so much that it is annoying and tangles. A clean cut edge will make it easier to thread. Lightly dampen the edge of the thread with damp fingers or your mouth. This will slightly stiffen the tip of your thread and make it easier to push through the eye of the needle. At this point you may either sew with a single thread or double.
Modern needle (top), and vintage needle (bottom)
Wet the tip of the thread to stiffen, and patiently push through the eye of the needle
Whatever stitch you're doing,
sew up to a pin and remove
the pins as you sew.
You can sew with a single thread with a “tail”, or tie the ends together and sew with a double thread.
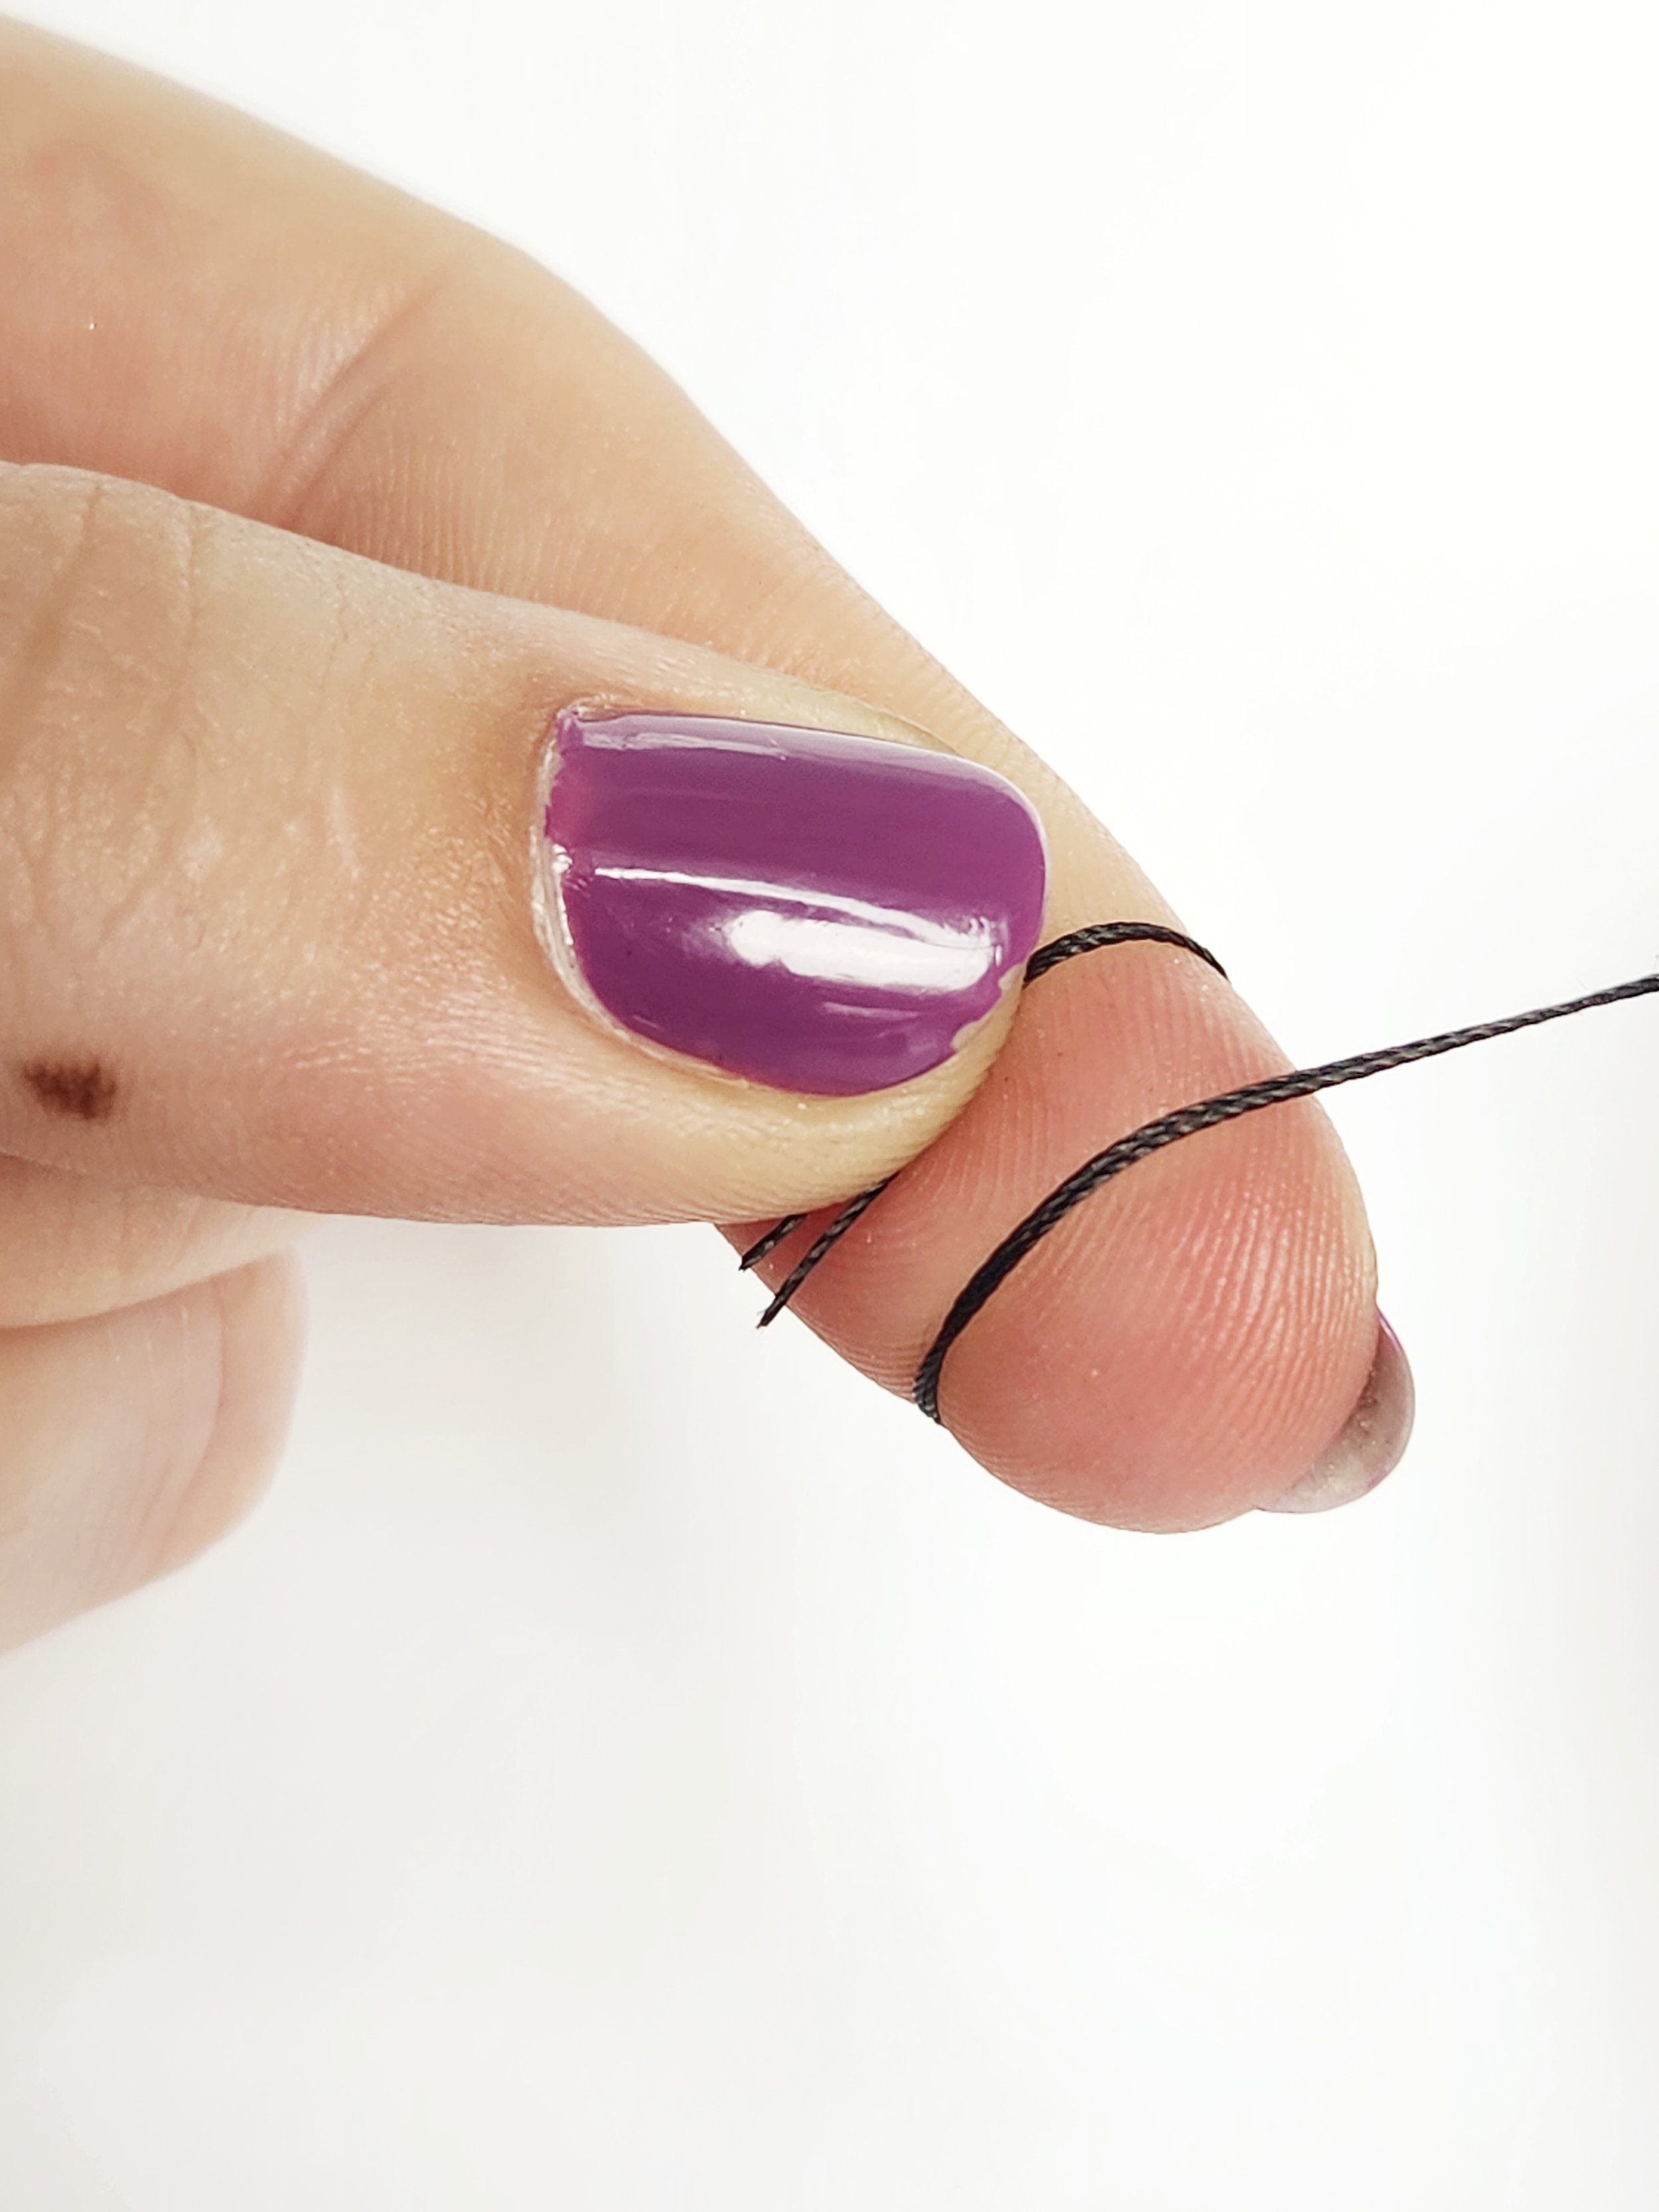
To make a knot, wrap your index finger with the tail end of the thread
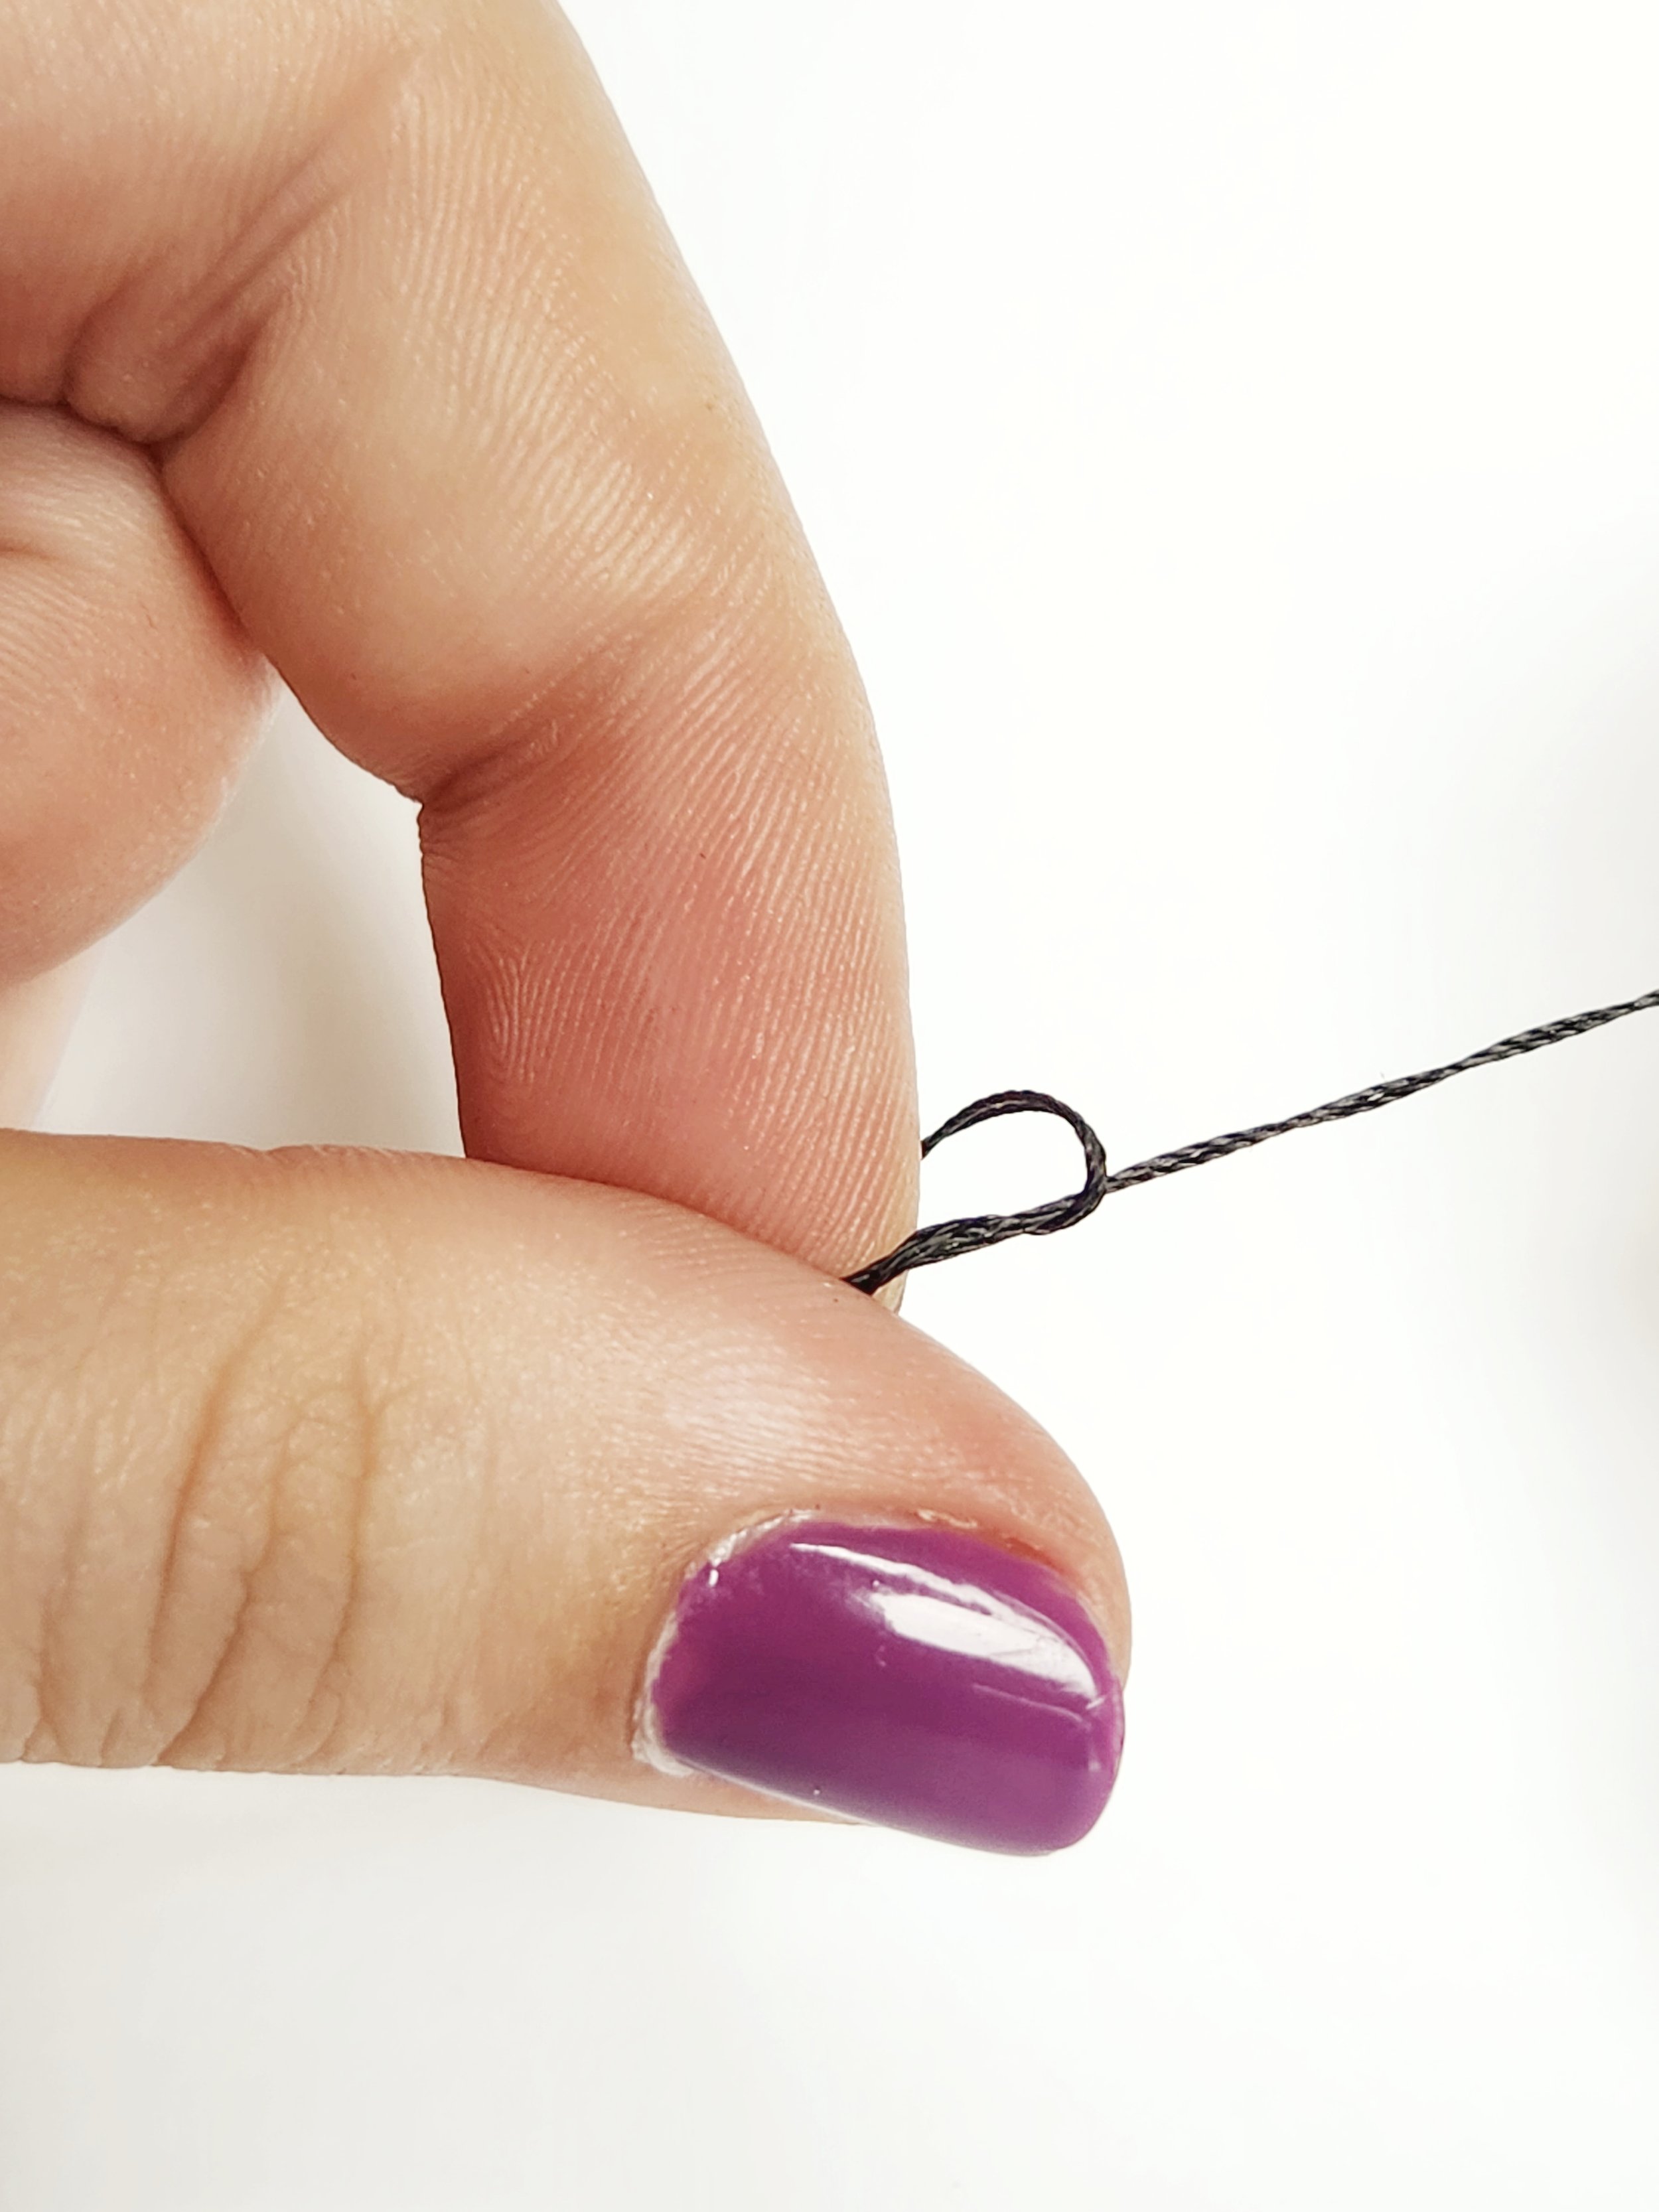
"roll" your thumb towards the tip of your index finger, twisting the thread
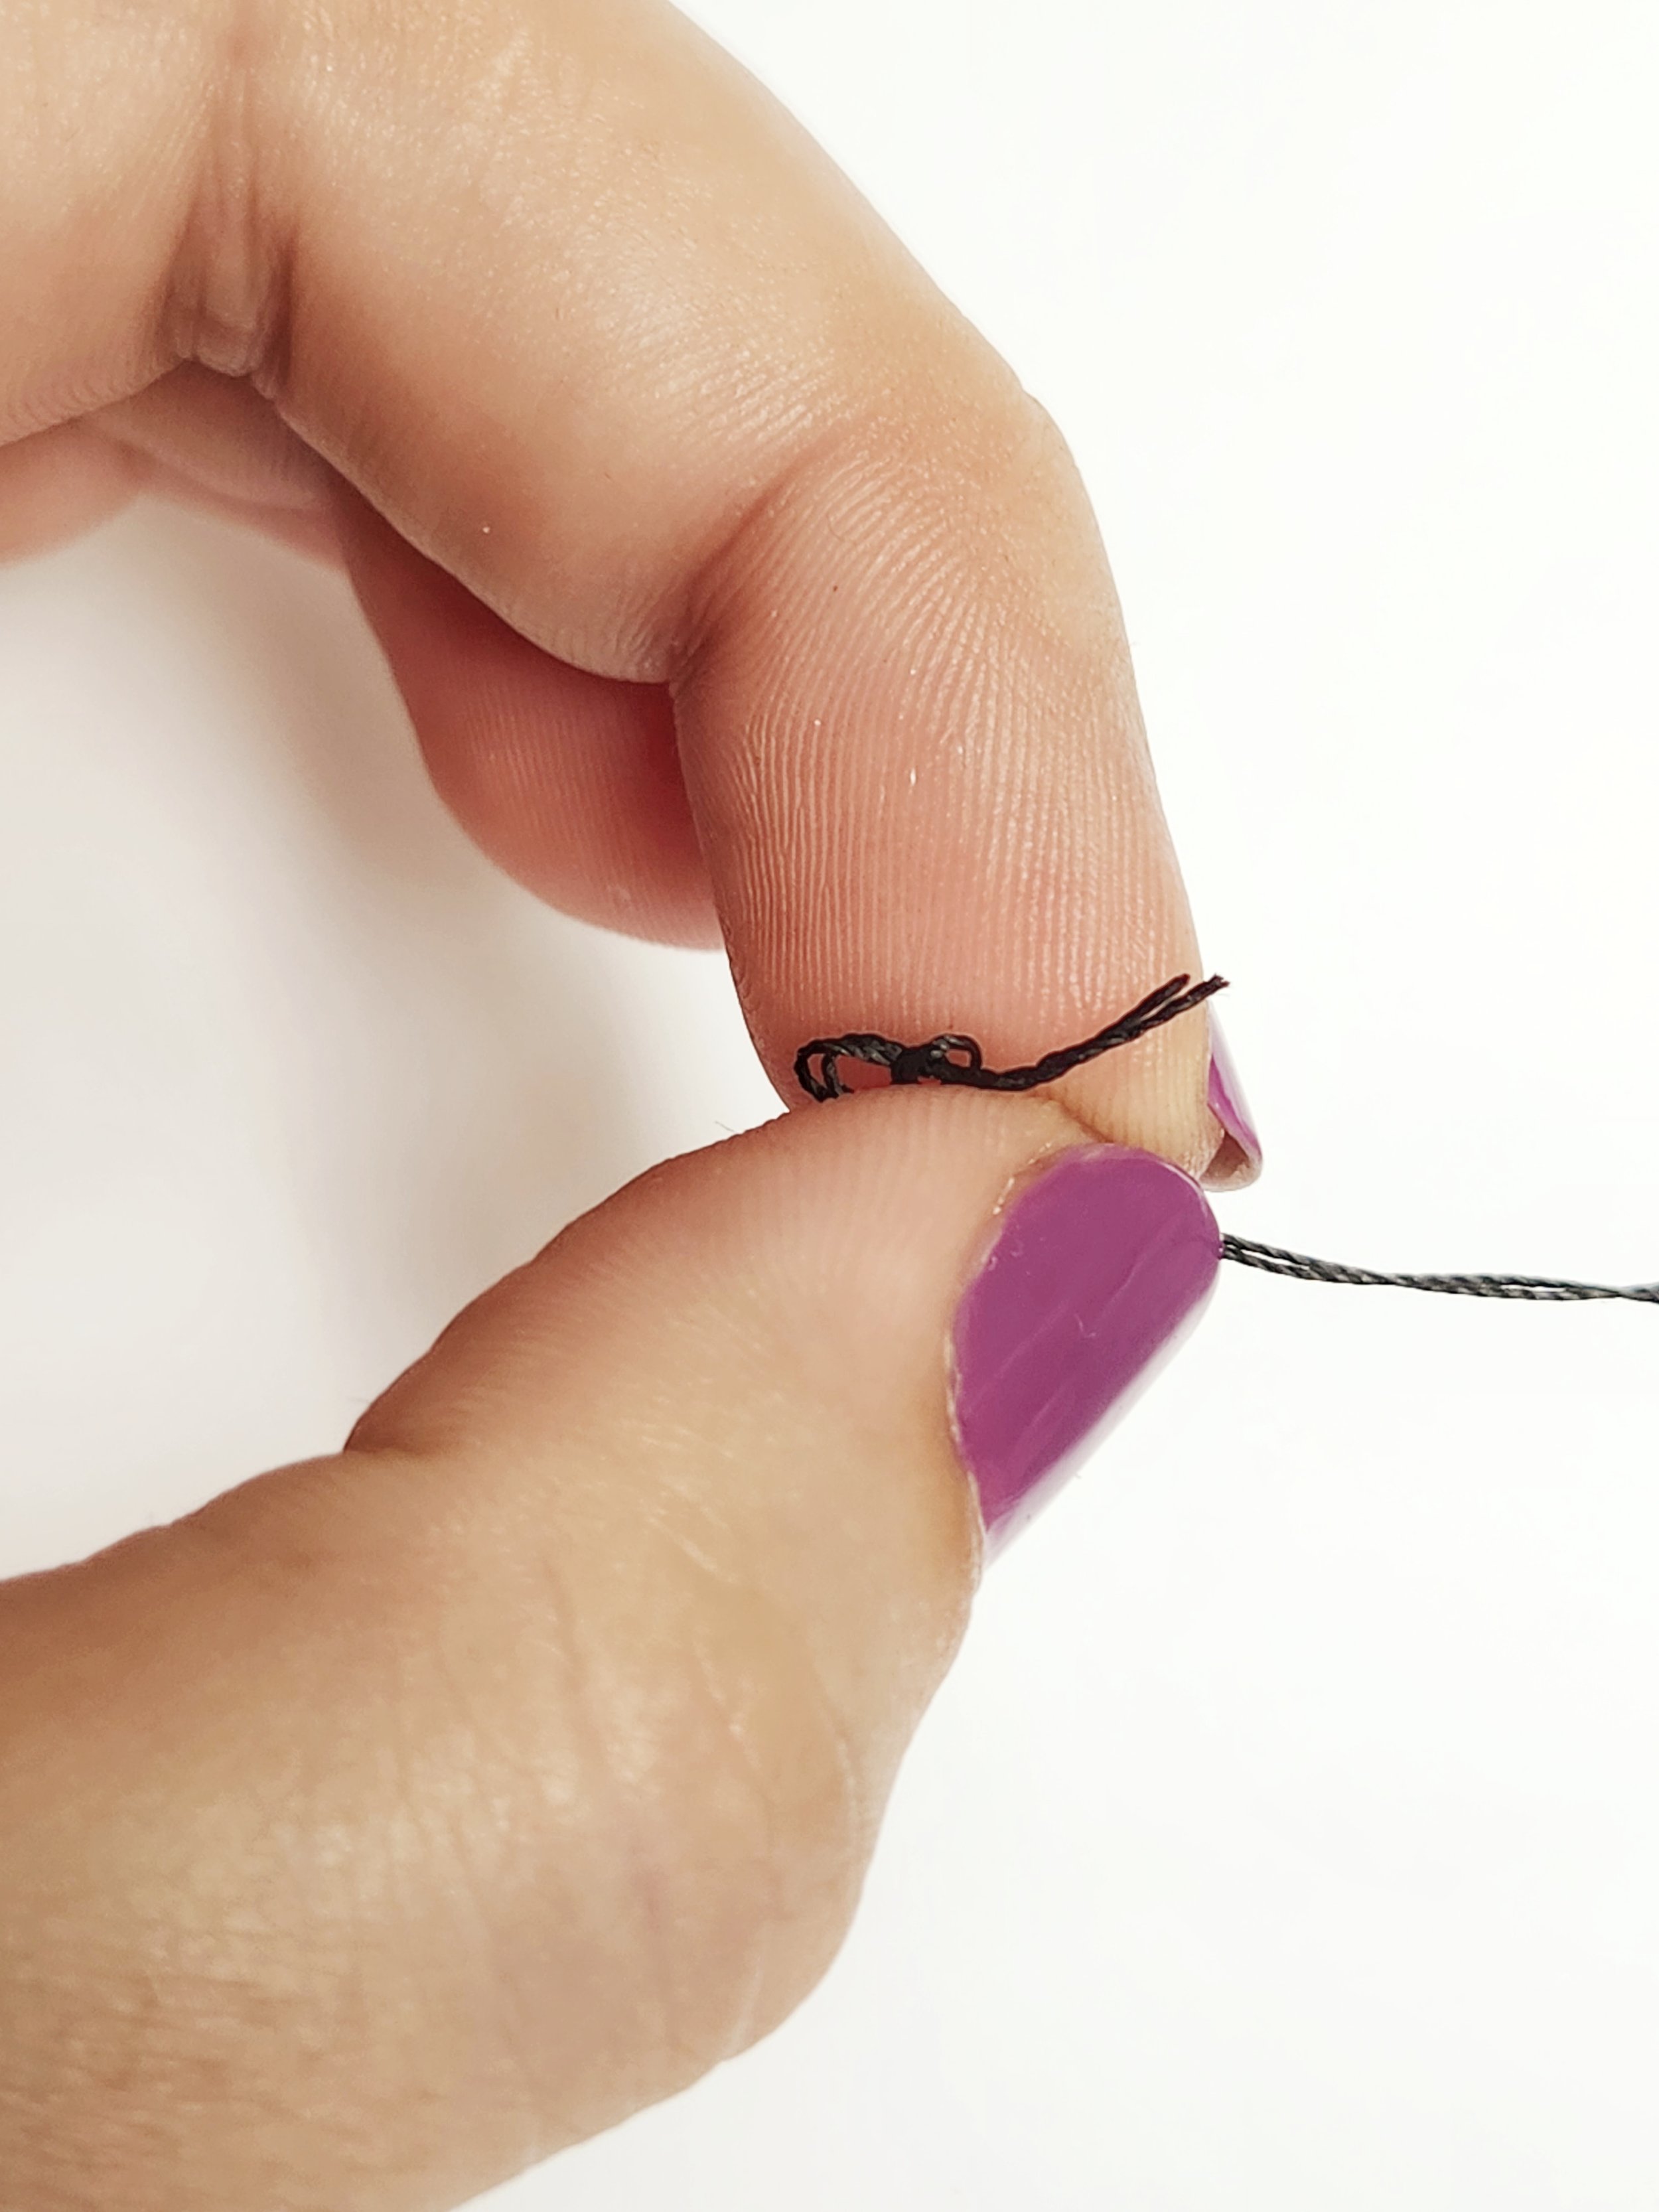
pull down the length of the thread to create a knot
Whip stitch, running stitch, back stitch, and running back stitch.
Here are just a few stitches to get you started. From the top down:
Whip stitch: this stitch always has the needle entering on the same side of the fabric, “whipping” around your project (this is great for when you can’t access the other side of the fabric, like if you’re stitching the seam of a pillow or a puffy jacket)
Running stitch: this is the fastest hand sewing stitch and does great for most mends in a pinch. Not recommended for seams that will be under a lot of strain (the bottom of a tote bag, or an under arm seam), but perfect for joining fabrics that won’t be under a lot of tension like the seams of skirts and loose fitting garments.
Back stitch: this is the strongest stitch of the bunch. You take two “steps” forward and one step back with each stitch, doubling the thread on the “wrong” side of the fabric. This stitch is good for seams that will withstand tension.
Running Back stitch: lastly, this stitch combines running and back stitch. You only back stitch over the gaps in the running stitch. This is a great all purpose stitch that has the speed of the running stitch with added strength. In my opinion it is also the best at imitating a machine stitch.
Vintage Pins
Unlike the needles, there's no particular reason for these to be second hand except for the fact that there are an abundance of them still in circulation! I've included very basic dressmaker pins with small heads. The advantage of this type of pin-head is that it is small enough it doesn't disrupt the fabric or cause it to lay in a way that isn't flat. You can however find prettier glass headed pins. I recommend glass headed over plastic heads, as the glass head pins can be pressed under an iron without melting! You can pins in a few different ways to hold your fabrics together prior to sewing your seam.
You can pin directly along where you will be sewing your seam. This technique is useful in that it imitates the line you will sew, you can hold up your two pieces of fabric and easily see an approximation of what your results will look like.
You can also pin perpendicularly to your stitching line. This is particularly helpful if you are trying to pattern match on a pattern like horizontal stripes or plaids. Strategic pinning can give you cleaner results, disguising the seam from the "right" side of the mend. This is also my preferred pinning technique for thin, slippery, fancy fabrics, as it seems like the pins stay in better this way.
Pin Cushion
I've included a tiny pin cushion for you to have a place to conveniently pop your pins and needles in when not in use. You could easily fit 30+ pins on this little cushion, and it has a bottle cap base to prevent the pins poking through the bottom. This pin cushion is 100% upcycled - the fabric on the outside and the stuffing on the inside are all scraps from other sewing projects.
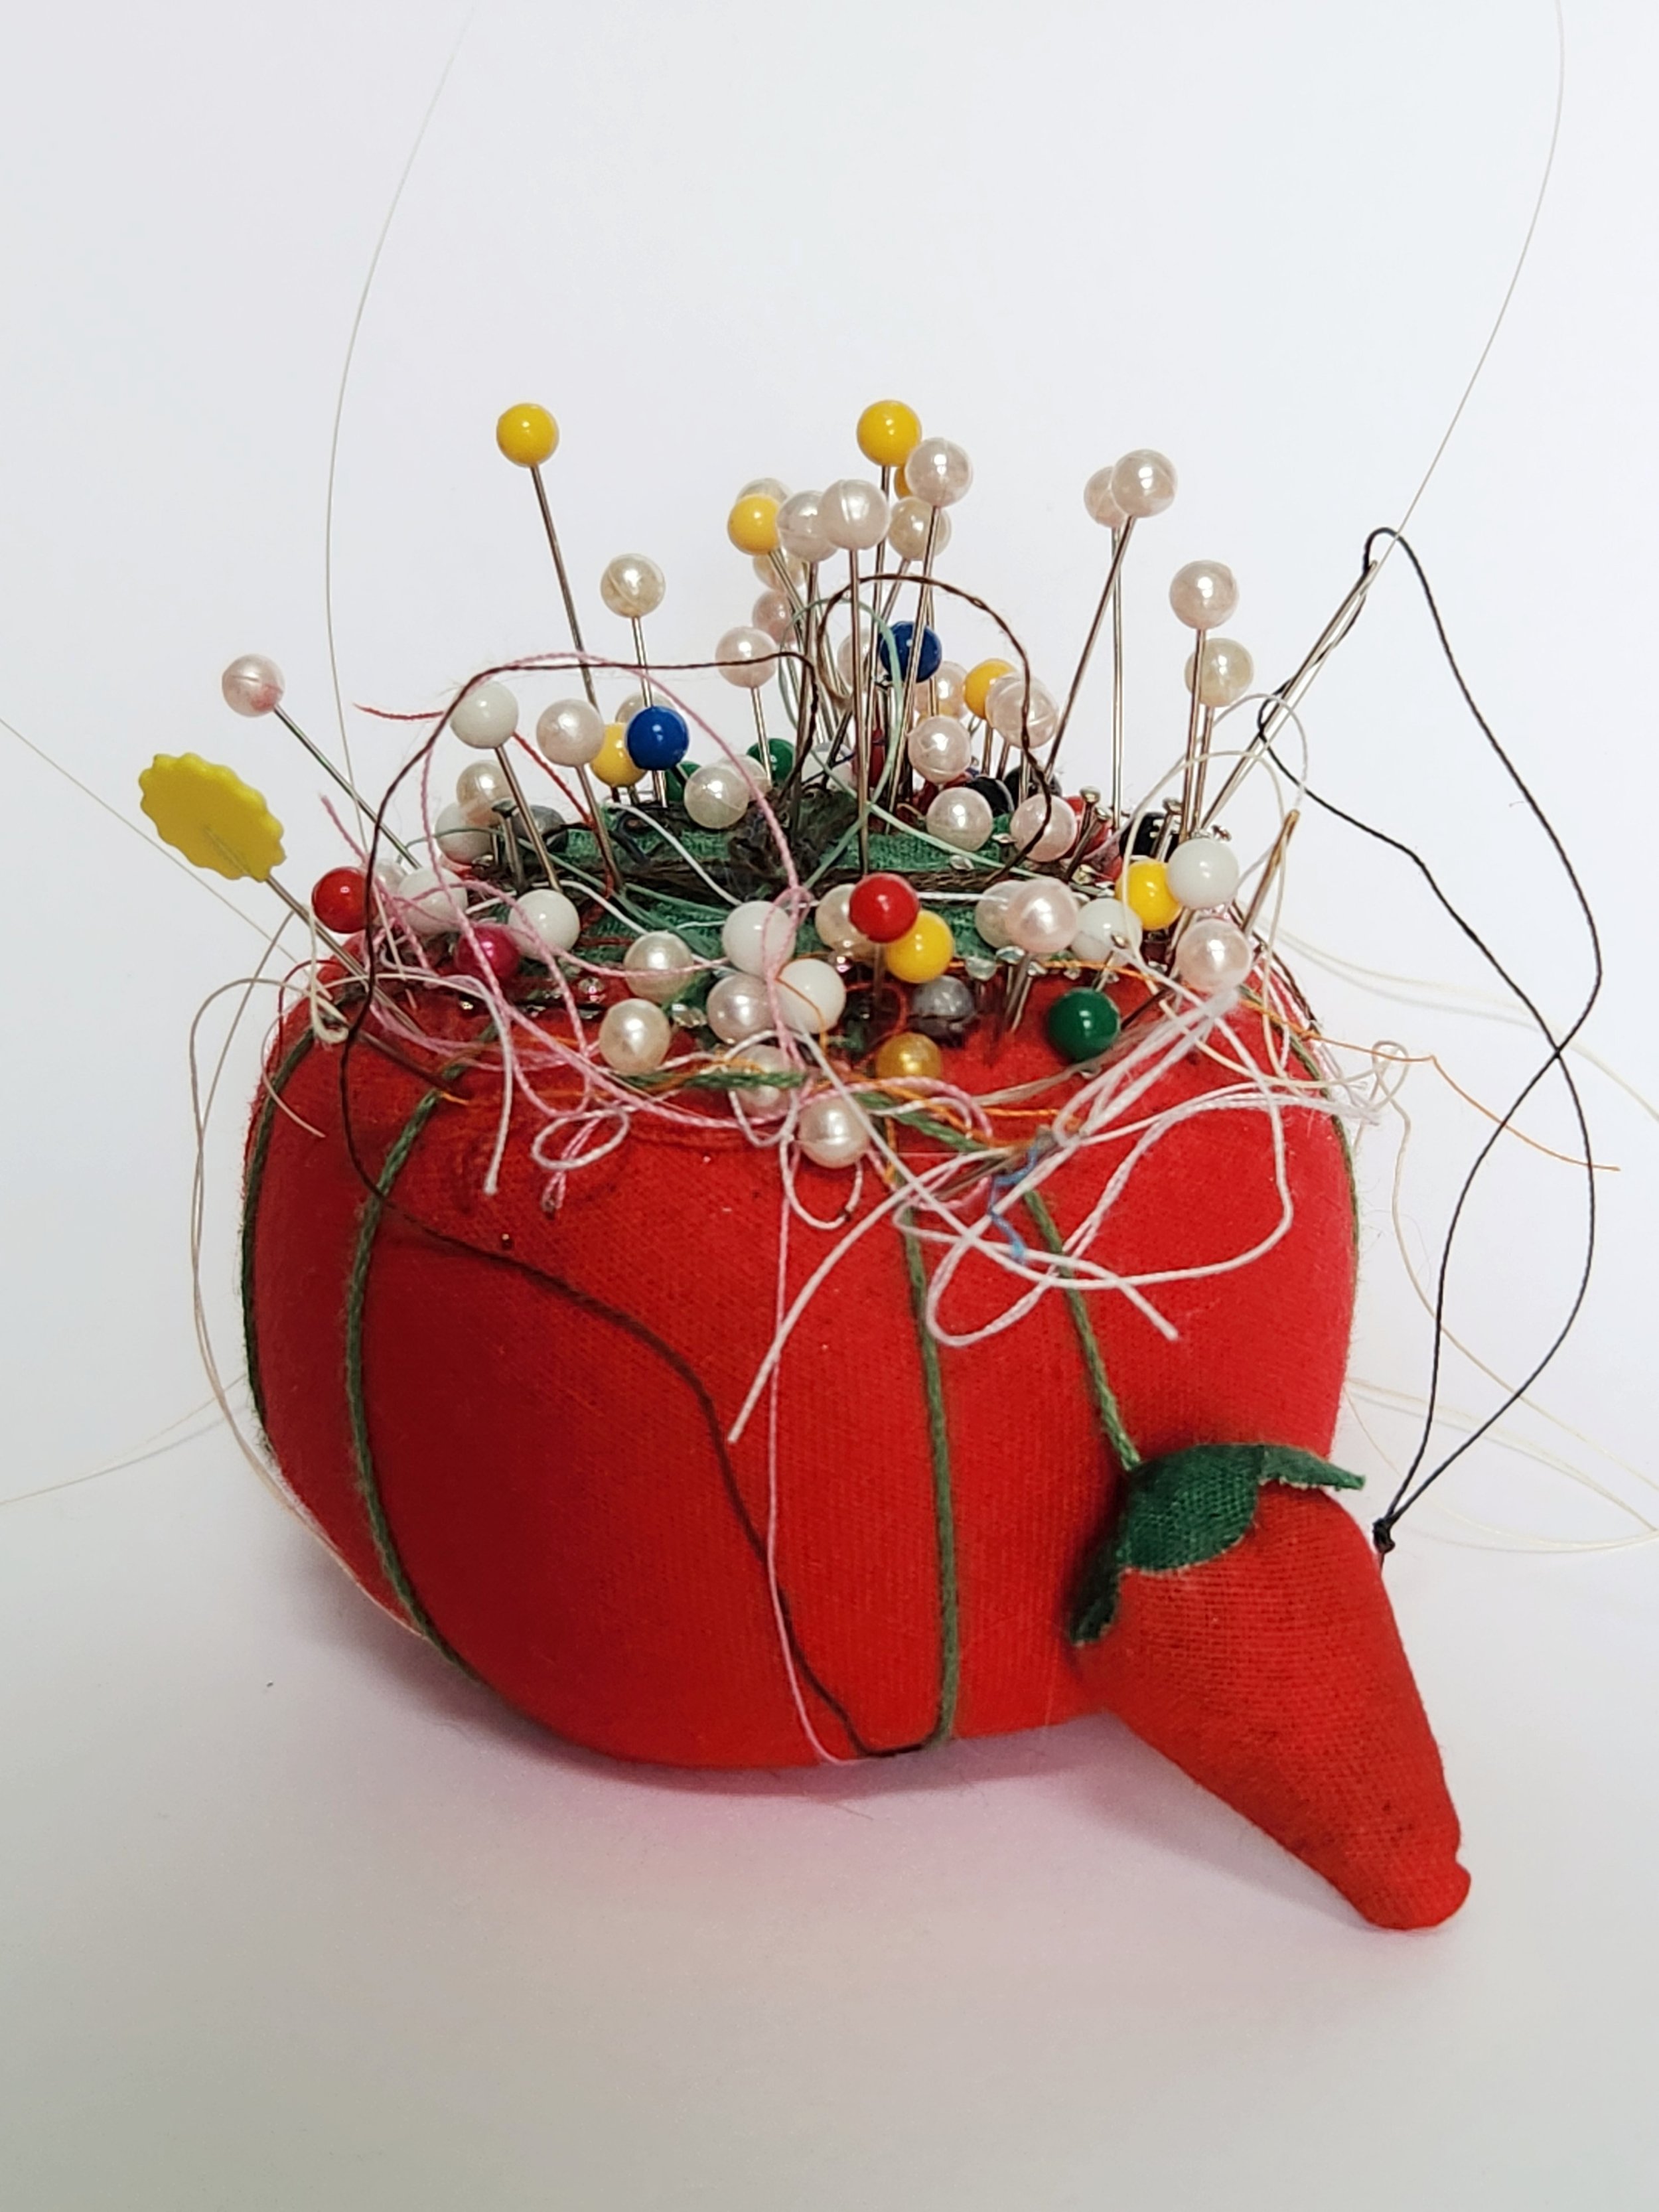
Most occasional sewists don't need a larger pin cushion with extra features, but if you decide to upgrade in the future look for a pin cushion with a little extra bobble off the top (think the classic tomato and pepper combo!) The little extra bobble is usually filled with steel wool and can be used to remove rust and sharpen your pins and needles.
Rx Bottle
I've used an empty prescription bottle to house your kit, and it's a great start. If you have prescription bottles lying around, consider whether you can repurpose them, they can hold more buttons, embroidery floss, a spool of thread, and so much more! Prescription bottles are great for traveling with crafts since you can simply throw them in your pocket or bag and you won;t have to worry about pins and needles sticking out.
Vintage Buttons, Snaps, Hooks and Eyes
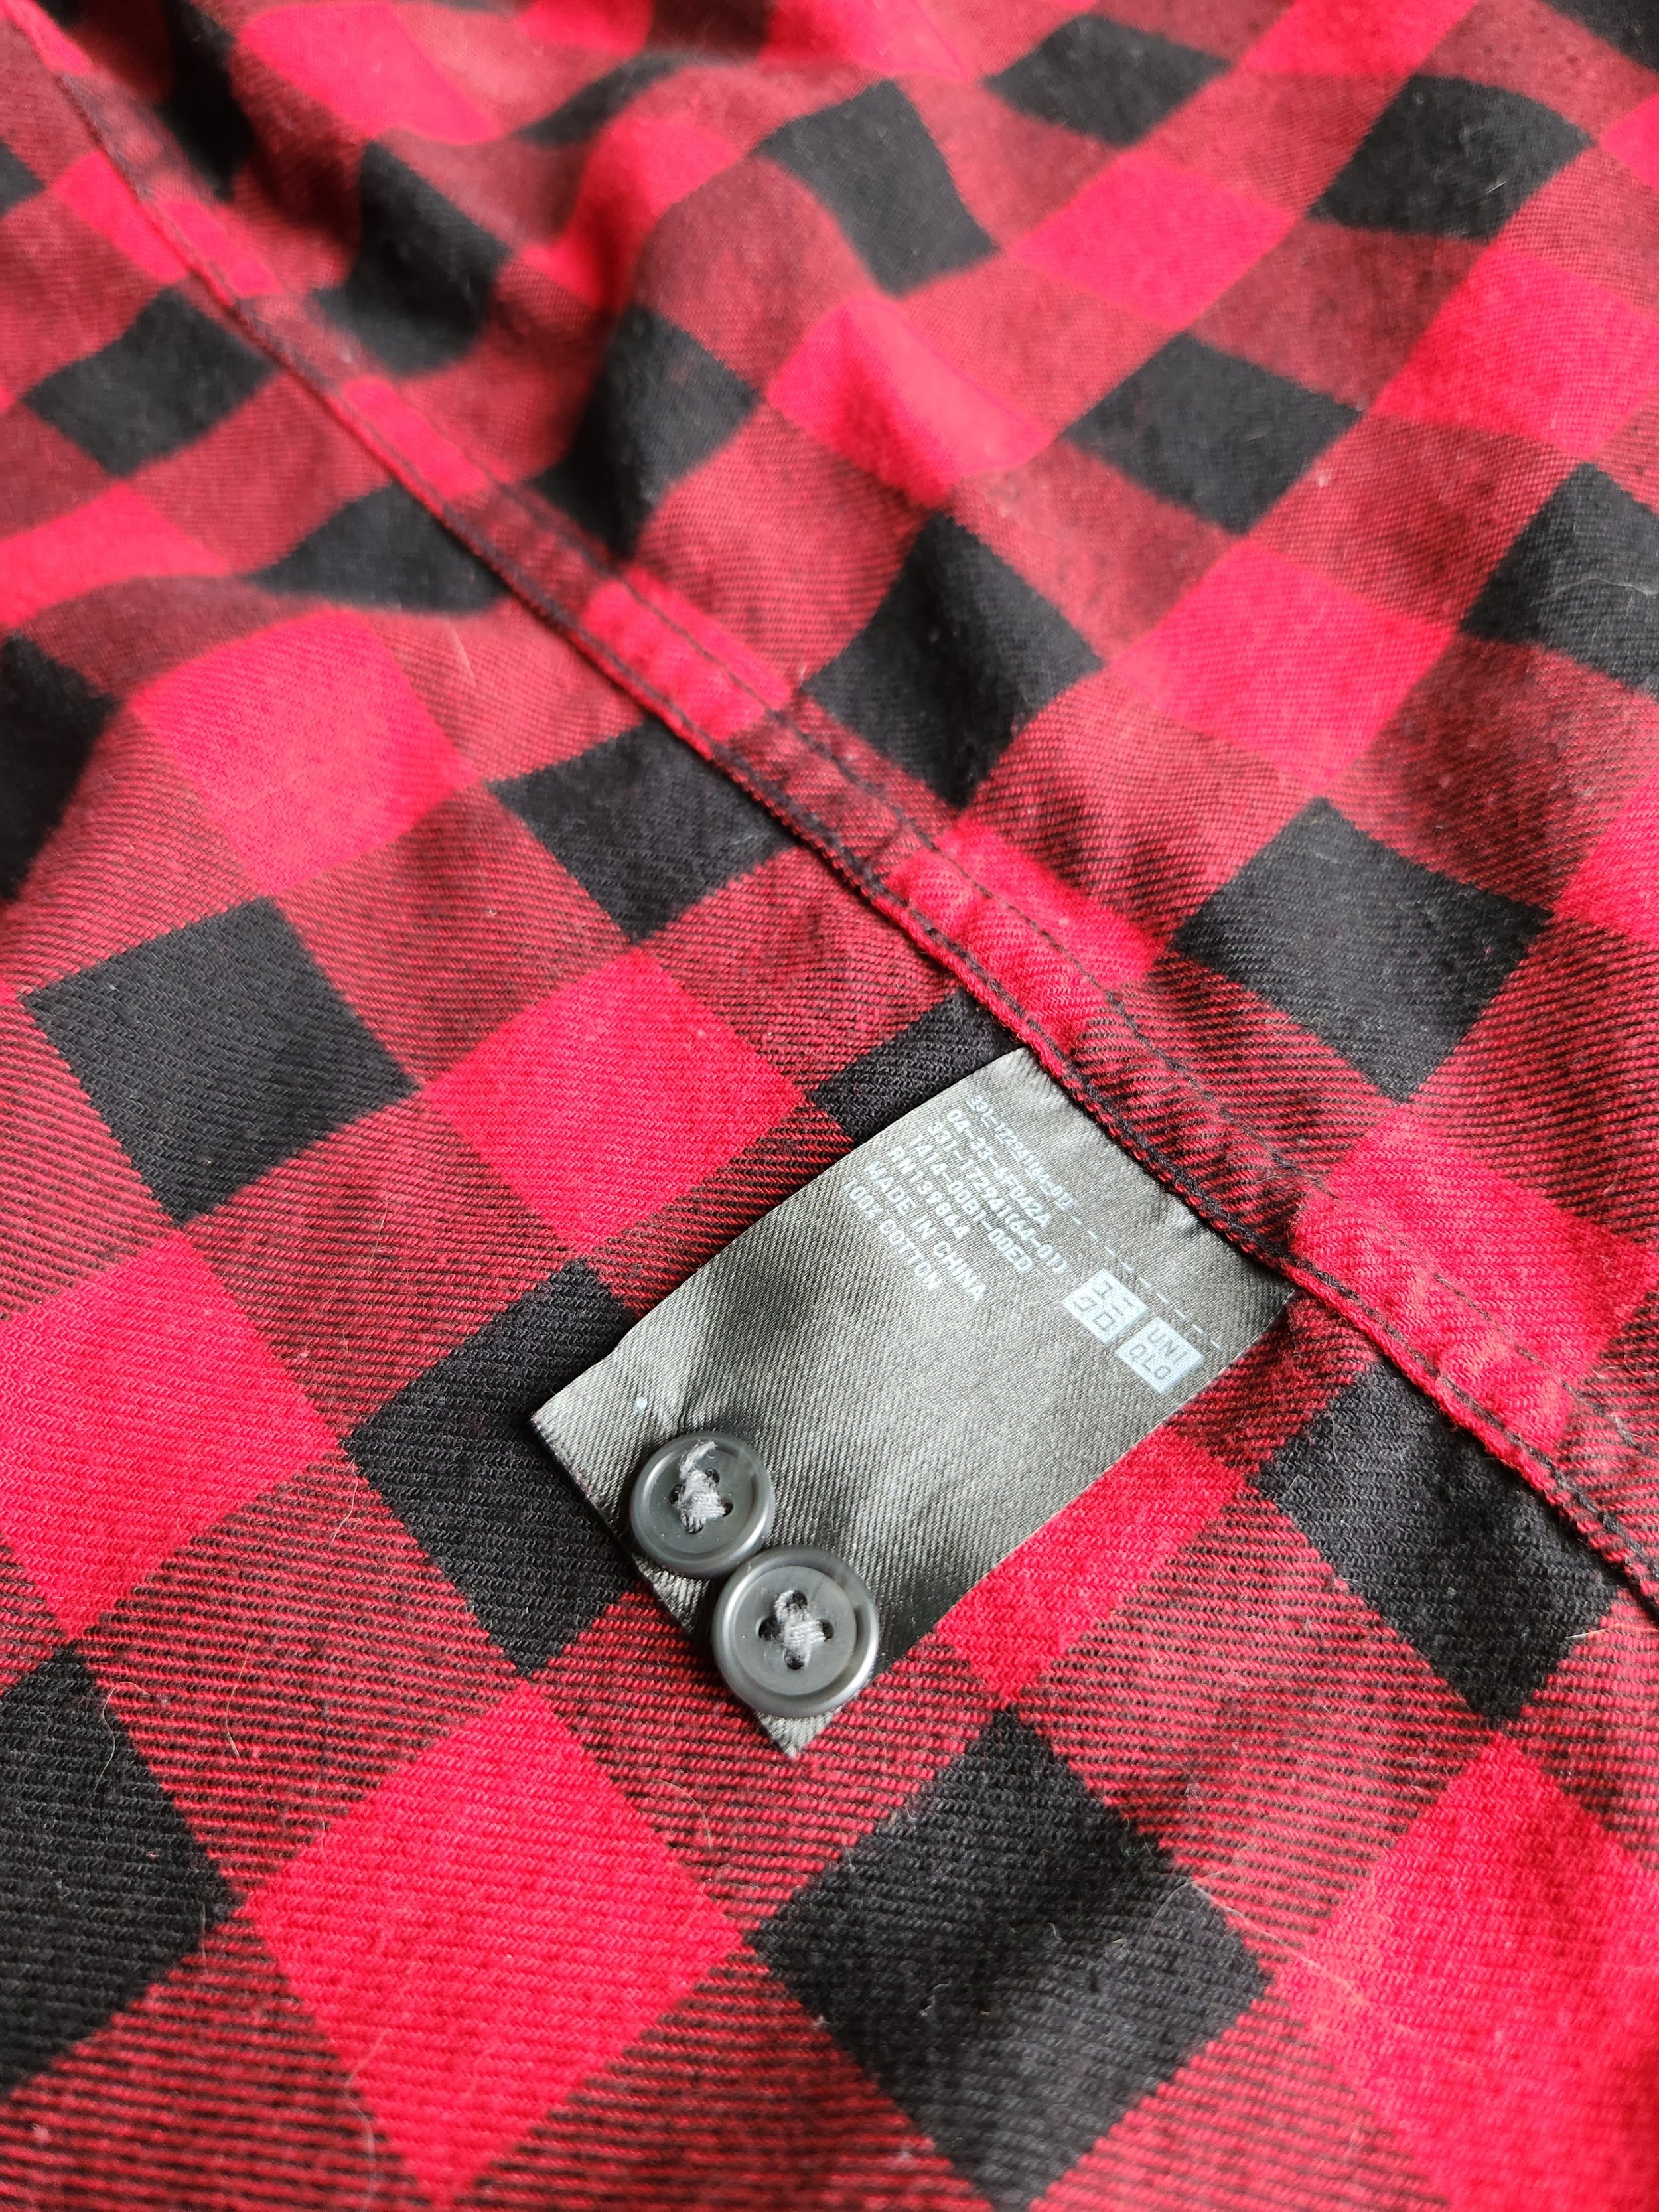
I've tried to include a variety of colors of buttons to suit your potential projects. However, if you can't find an exact match here - here are some other places you may find spare buttons on your garments:
Side Seams
Tags
bottom inside of button plackets on shirts
If you can’t find a perfect match, and you are replacing a button in a highly visible area, use your seam ripper to steal a button from a less obvious area on your garment (lower is better). You can use the matching button in the highly visible spot, and replace the one you stole with a button that’s “close enough” from the mending kit!
If I ever buy a new garment that comes with extra buttons in a ziploc baggie, I try to take the time to sew it onto the side seam so I have it for future use if needed!
Buttons: Most modern clothes-wearers are used to buttons and zippers. I recommend sewing buttons on using a doubled thread with a sturdy knot. Stitch with a low amount of tention, you don’t want the fabric to “pucker” under the button.
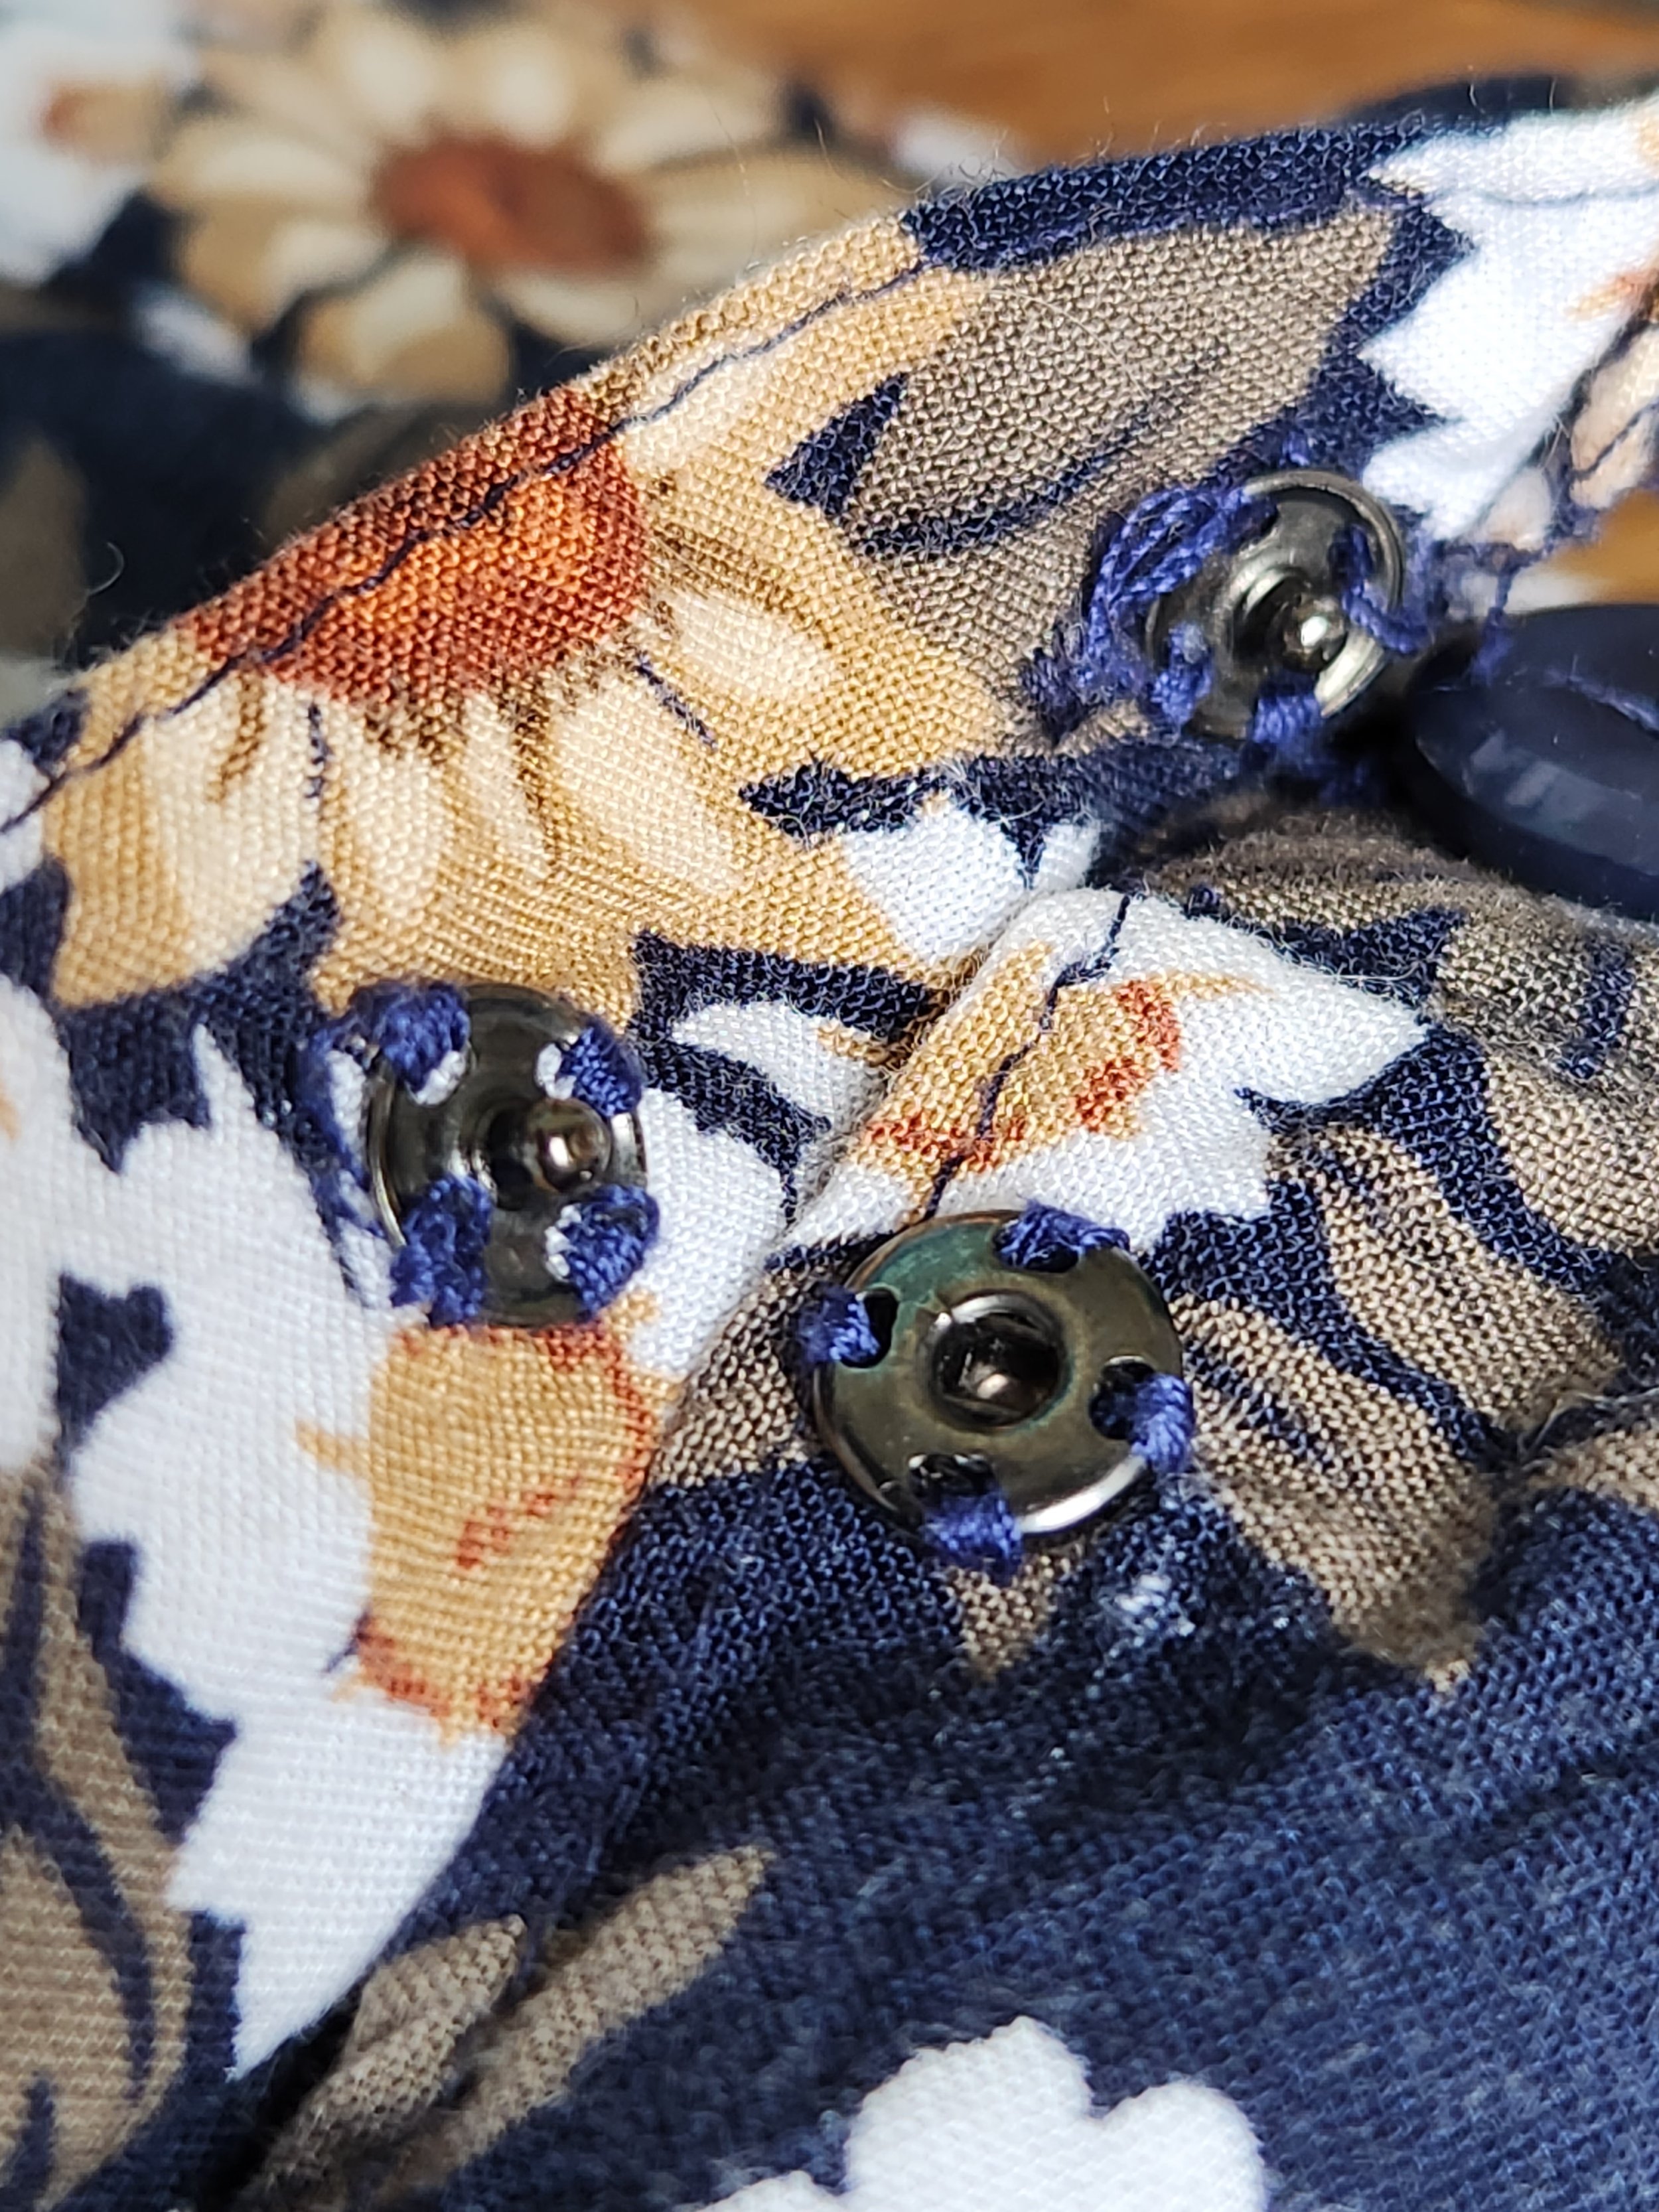
Snaps: very useful in a number of applications, if you don’t have a button hole or don’t want to see the closure from the outside of a garment! I for one am a big fan of using these to subtly close the gaps on dress shirts in the bust area.
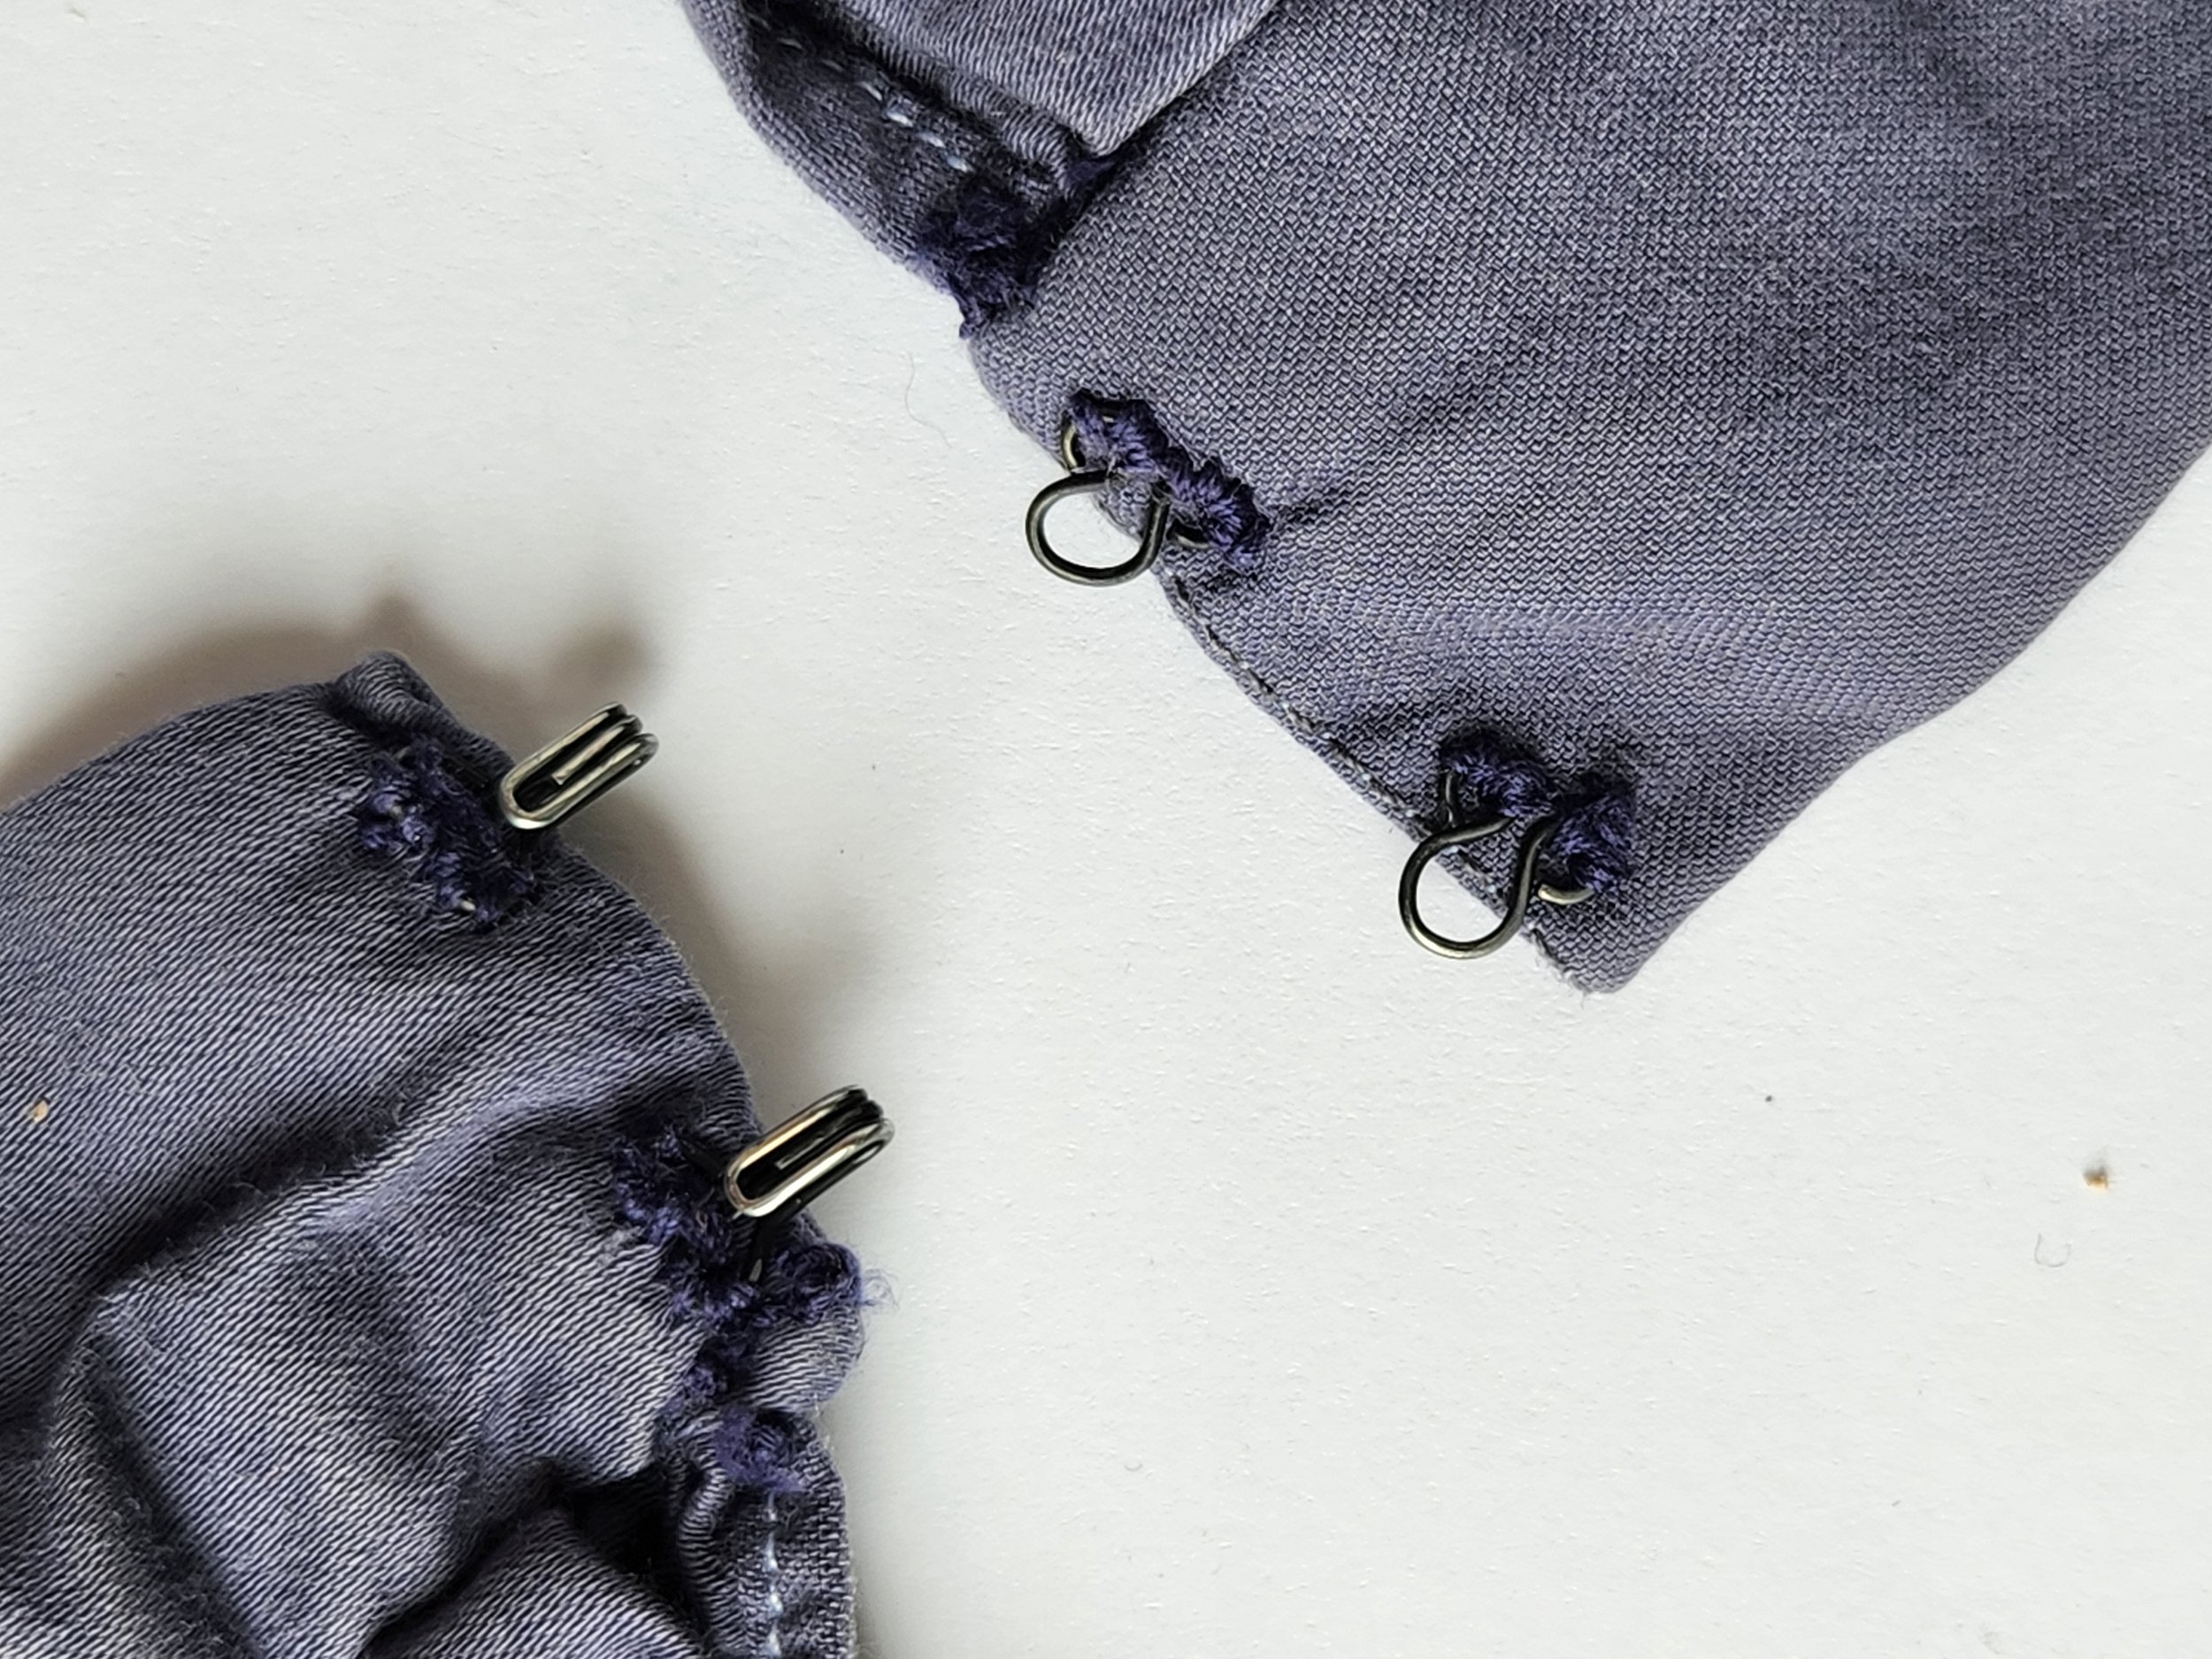
Hooks and eyes - these aren't nearly as common as they used to be - but they're definitely still useful! You may find this type of closure handy for areas of tension, for example the top of a zipper, a gap between shirt buttons, or the "V" where the two halves cross on a wrap top or blouse.
